Slider

Merry Christmas (Eve)! :)

Thursday, December 24, 2009

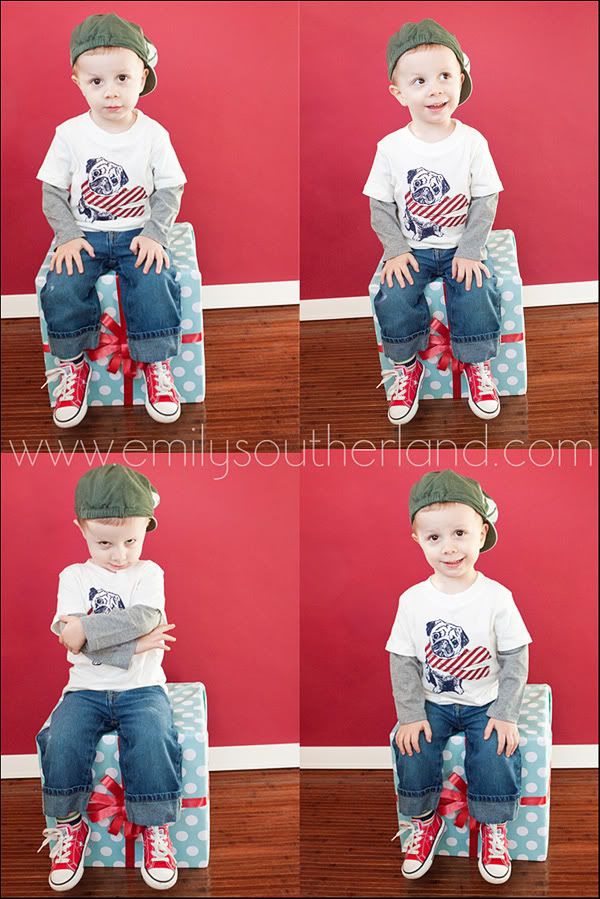
We'll let Noah be the photo-representative of our holiday blog-card, since he is ridiculously cute:

Seriously. He is KILLING me with his cuteness.


I mean, did you catch that face on the last shot??*swoon*
Love that kid. :)

*

We wish all of you the most wonderful Christmas eve and Christmas day. Here's to family, to friends, to creativity, to joy, to inspiration, to change (even under duress), to hope, to resiliance, to laughter, to God, to the power of women, to amazing children, to people making a difference, to uncertainty=possibility......

Bless it all. Thank you for all of it. And most of all, thank you, my beloved Savior Jesus Christ, for being my advocate and hope and big brother... for making my joy possible. Thank you. I am profoundly humbled by Him and His message.

Peace to all of you.


The L. Family {St. Louis Children's Photographer}

Friday, December 18, 2009

Bloggy Blog Check In:
* seven days til Christmas (eep!!)
* four more nights sleeping here at the Lodge
* one more night of editing sessions for 2009
* spirits: high, after a LOT of productivity this week, and some much needed girl time, first with my gorgeous sister in law Mary, then a dinner out with my dear friend Sarah, and most recently an hour or two at the cheery, holiday-bedecked mall with my sister Beckie.
* Noah: cute as ever and seems to be over his most recent cold... He has had a kick being driven around in "gramma's truck" today, since we are borrowing the pick-up for moving stuff.
* Joe: done with finals and papers, YAHOO!!! 99% done with grad school applications. Yahoo!!! And looking ridiculously attractive to me today in his soft, cozy hoodie sweatshirt and scruffy face.
*Crafties: On hold til my sessions are edited.
* Noah's presents: all bought, none wrapped.
*Joe's presents: Mostly bought, one left to make.
* My presents: not getting much this year, since I tend to treat myself all year 'round to cool treasures, PLUS I have an incredible group of friends treating me all year, too... Remind me to tell you about our Christmas swap this year. YA!!!!! So fun!!
* Christmas: making me get teary-eyed at all the right moments... Noah recognizing "baby Jesus" (as in, "sweet Christmas Baby Jesus", NOT "Talledega Nights Baby Jesus". *eye roll*), music moving my little tender heart, and people just being NICER right now...

I am GOOD. Can you tell? :)

*

And now, a session share.

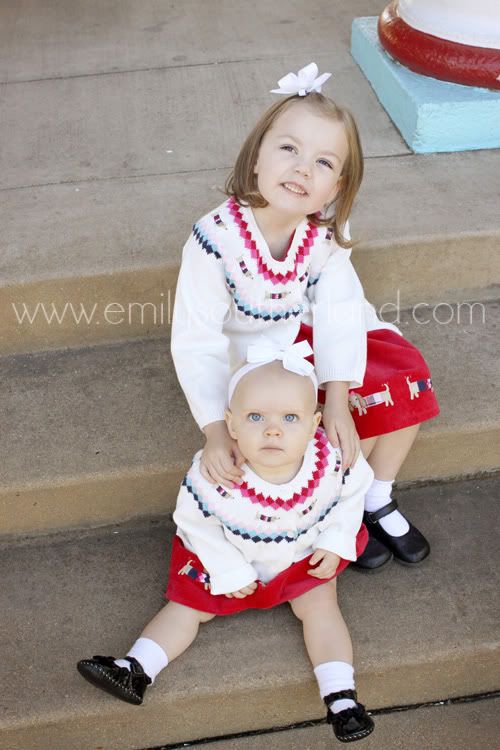
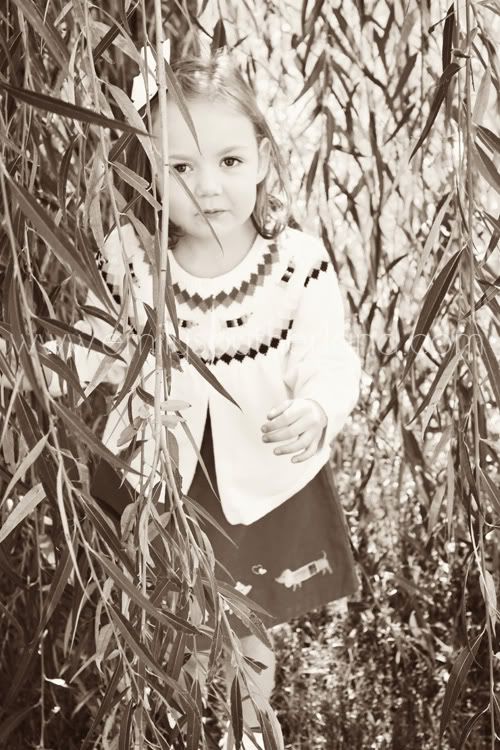
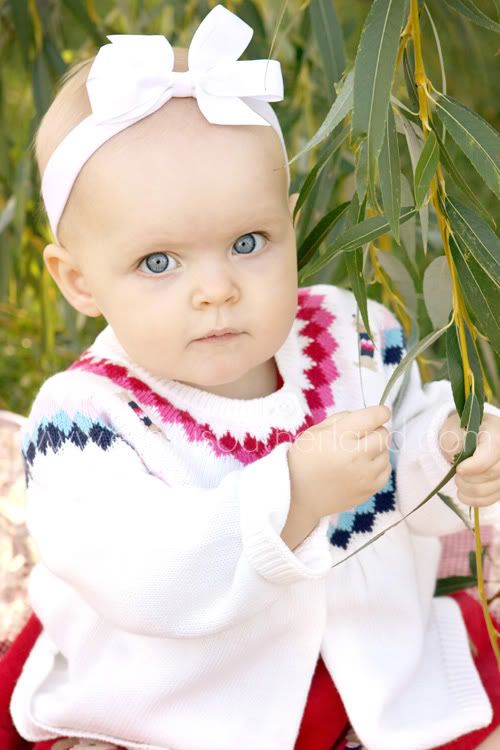
Last session shared had two cute boys, so I needed to balance it out with two cute girls this time. These darling sisters were FULL of energy and personality, and made me LAUGH. The older one, 4 years old (maybe 3.75? I can't remember!), wanted me to CARRY her everywhere, in a really endearing way. And ya know what? She was SO cute and so sweet to me, I had to oblige. She and my million-pound camera (since the new lens!)... But it was totally cool. :)

So are they. Take a look!
Lener

Lener

Lener

Lener

Lener

Lener

She saw this weeping willow tree and literally SWOONED. A true "princess tree", her mom told me. She was SO excited to go play in it. Did you love willow trees for the same reason growing up? I did. They are PURE romance, to a little girl.
Lener

Lener

Thanks, L. girls... And mama Jessica. It was such a fun little afternoon we spent, back when trees were still green.

Not anymore, though. The weatherman is talking SNOW here soon. Maybe it'll stick. I LOVE the first snow. the last few snows, notsomuch.... But the first one is MAGIC. Can't wait!

The W. Family {St. Louis Family Child Photographer}

Wednesday, December 16, 2009

Whew! After a crafty binge on here, it's weird to get back to photographs! And especially when the session I'm sharing is from LATE SUMMER. Whaaaa?! How did this one fall through the cracks?? Especially since, as I am looking at the images again, I LOVE so many of them??

Oopsies!! Boo on me!

Quick, time to rectify this. Here is the W. family, a sweet family with two incredibly cute boys. It was a complete delight capturing them with my camera. We paid special attention to Zachary, since he was the new addition and needed some photos of his own. But Owen, the big brother, was on hand for PLENTY of charming photos of his own. :)

we started with a garage session.... LOVE the light, the simplicity, the color.... A timeless way to catch true PORTRAITS of this moment in their lives:

Welsh

Welsh

Welsh

Welsh

Welsh

{I LOVE that this little angel WENT TO SLEEP!! Like a newborn!! I never expect that from my 3-month olds, but he was a DREAM..... While he dreamed. Tee hee!}

Welsh

Welsh

{And he didn't even wake when his big bro wanted to show him some INTENSE love! }
Welsh

After our garage portion of the session, we got to play in their charming home and catch some "day in the life" images. I love this type of session, too, because you get the "real" side of the subject... In this case, Owen's deep love of anything Transformer related. :)

Welsh

Welsh

Welsh

This next one TAKES MY BREATH AWAY.... LOVE the true connections here... Love the light. Love the texture of the walls and the details.... Love it.
Welsh

And a few more in their awesome back yard....
Welsh

Welsh

Love this session. Love that I got to fulfil my split-personality as a photographer--- my love of posed, beautifully lit portraits, and my love of REAL LIFE moments, too... Love that they let me do both. Love the love between brothers and parents and each other.

And love that I still have many many many more sessions from autumn/winter 2009 to share with you before Christmas is upon us.

Happy Wednesday! Back to editing for me. I think I only have two nights left of editing before I can officially call 2009 FINISHED. Wahoo!!!!

Winner, Winner!! Wahoo!!

Tuesday, December 15, 2009

Is it awful to admit I kept putting this off because I felt sick about the fact that not all of you could win?? I REALLY did. So many neat gals, so much time and effort put into coming back and helping my week have some bright spots... And MY GOODNESS, so many participants!!

64 total, actually. I LOVE that.

But I also have an overactive Guilt Gland, and so the thought of having to disappoint so many cool ladies was giving me KNOTS in my tummy.

But I finally just made myself do it.

It was time.

Past time, actually.

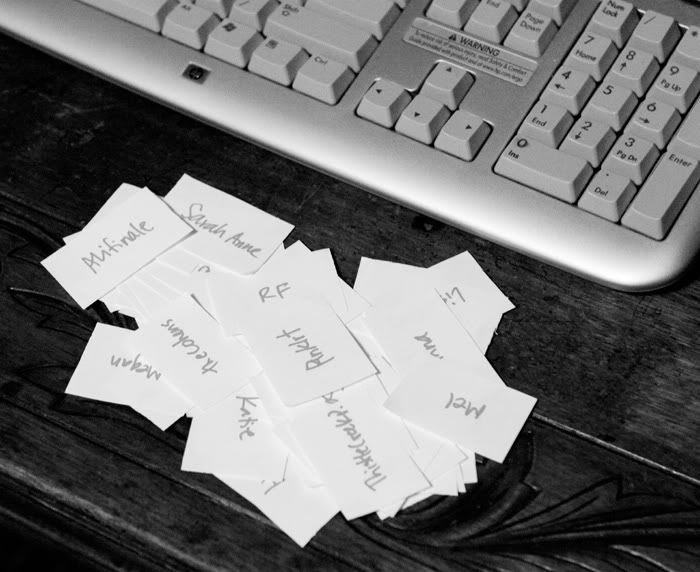
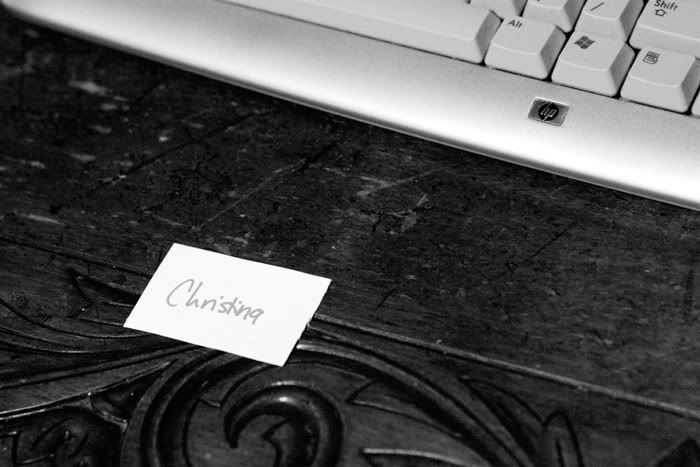
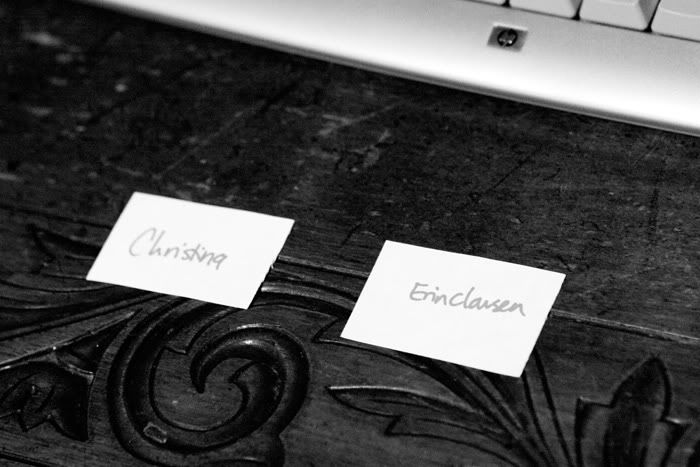
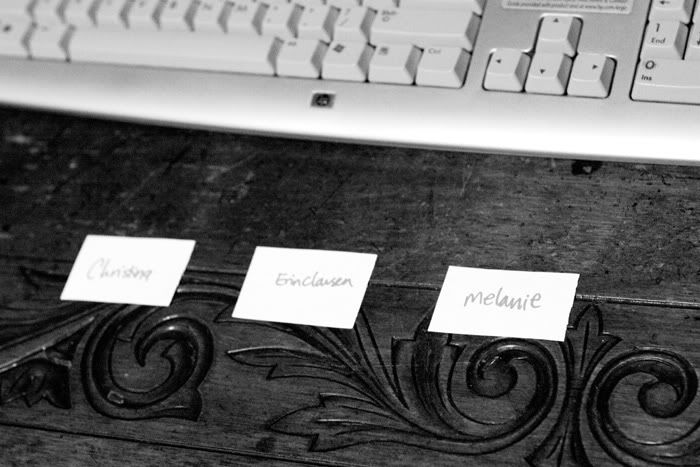
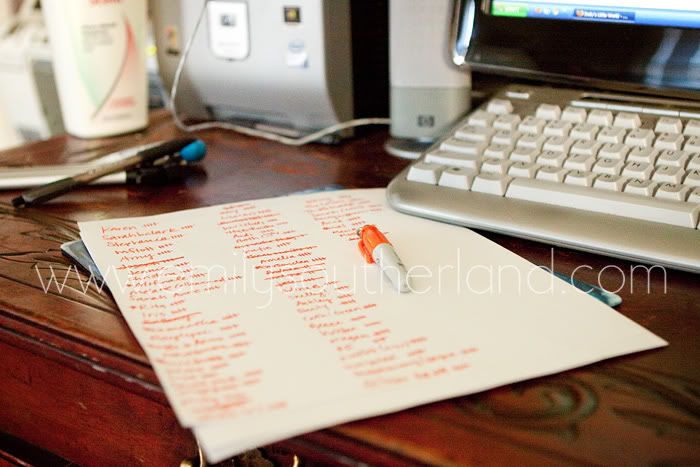
So I got the names, put them on papers.... and had a good little pile:


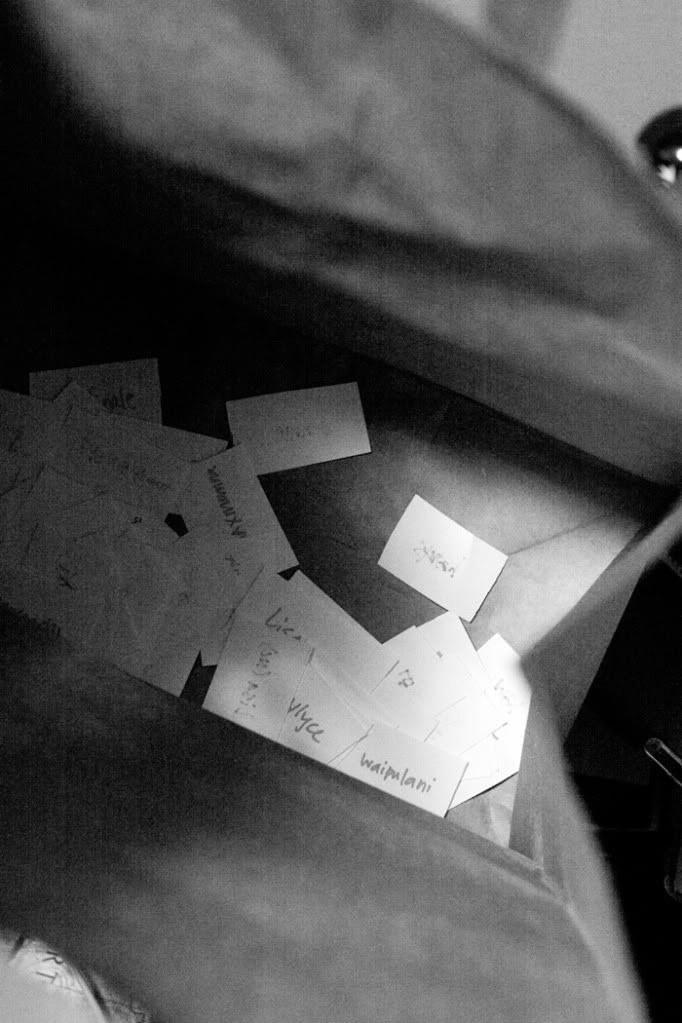
Put the pile in a paper bag:


And....... took a deep breath and drew the first name:

Ya ready?


CHRISTINA! Congratulations!! You've been with us from the beginning of the week, and I am THRILLED you get to have the cute little mailbox kit I had so much fun creating.

And.... well.... I couldn't leave it there. I had to draw a second place...


ERIN! You can have three reusable snack backs as a second place prize! It's not a mailbox *sniff*, but they're pretty awesome.... :)

And..... third place? Okay!


Melanie(ellaniemae)! Yahoo for you! I have two fabric flowers for you, to "girly" up your holiday. :) :)


And the rest of you.... please know again that you have made the Moving Week From Hell so much more balanced--- lots of love, positive energy, creative inspiration, and GIRL POWER, all in one place. I love y'all for being here with me.

and if you are a new-ish blog reader, loving the tutorials, I have to confess I am not super consistent about posting those kinds of things. But your responses have been really incredible, and as winter comes in and the photography biz slows down, I will be making a LOT of random stuff. If there seems to be a desire for more of this nonsense, with or without a contest attached, I will try to remember to snap photos as I create, so I can share it here for you guys.

Coming up next, though--- a BOATLOAD of final sessions from 2009.... gotta catch up there and give all my incredible clients their day in the sun.

Off I go.... Christina, Erin and Melanie, will you email me your addresses so I can tuck your prizes in the mail?

southerlandgirl at yahoo dot com...

Have a wonderful week, the rest of you!!

Contest Winner is COMING, I Promise!


It is 8:52. Noah is having a meltdown. Lightroom is freezing up. Joe and I are rushing (with Noah, I promise) out the door to do an emergency errand.

But I have the list of qualified contest entrants, starred (for extra points) if they blogged about this contest, and as soon as I have time to devote to making slips of paper for drawing out of a hat, I will find our winner.

Until then, real life is screaming at me (or is that just Noah?) to pay attention to it.

Love to all!

Are You Ready to See My FAVORITE Crafty? Tutorial Week, Day 6

Saturday, December 12, 2009

Oh my friends, I have been chomping at the bit to be able to tell you about my last crafty of this week.... The shining star of my efforts the past few months.. the clever little kit of delights that any child, girl or boy, would LOVE to play with... The treasure I saw in Anthropologie, but refused to pay $50 for... so I finagled a design of my own.

Are you ready to see what you have been working for all week? Are you scared it won't be worth your efforts?? (I'm a little nervous you'll all be like, "I came back ALL week and left comments for THAT? Bah humbug.") Oh I HOPE you find this as charming as I do. **fingers crossed**

Okay... Deep breath. Gonna reveal now:

Presenting.....


My FAVORITE crafty of 2009......


The MAIL BOX!

Um, yeah. a MAIL BOX. Wish there was a more elegant name for it.

But words don't SELL it... Photos do! Looky!


Not just a mail box, but a portable kit of "pretend mail" wonders... Postcards, envelopes, stamps, paper... and a red flag that goes up and down as needed. Come ON. Cute?!?!??? Ya know it is.

This little treasure is made with posterboard, cardstock, felt and fleece... with a healthy dose of Velcro added in. And as much as I want (and intended) to give you a step by step tutorial tonight, there was simply NO TIME to get making a "sample one" to photograph the steps for you. So for now, all I have is the reveal, and the contest, and then the PROMISE that I will come back in the boring bleak weeks of late winter and give you a REAL tutorial here. I warn you, it'll be a doozy. This whole kit probably took five hours, at least. Worth going back to the store and buying the $50 one? Maybe! Ha! But looking back at it, it turns out mine is CUTER. Seriously. Go see for yourself: Felt Play Mailbox. It turns out it was worth it to see this thing only once, but then stew on it for so long... because it took on epic proportions in my mind, and I had to make those visions a reality. But by then, the reality ended up BETTER than the original. Well, in MY opinion, at least.

Okay... want a few more shots? You know you want to see the details!


Hand-appliqued "MAIL" sign... Velcro on the envelopes and postcards, and the contrasting Velcro on the stamps. Play like you are stamping all your notes to your friends!

Some pieces of "stationary" included, for letters to whoever... Mom, Teddy Bear, Santa... And you can write on the postcards if you want, or leave them blank for playing with them again and again.


The envelopes are felt on the outside, and cardstock on the inside, so they will stay sturdy with longtime play.


SO many ways this could be fun... It's portable, so play can happen anywhere... And it could eventually become a fun "message system" between family members... Mom or Dad could write the kiddo a note and tuck it in, even without a felt envelope... Then put the flag up, so when the kiddo comes home from school, they see they have mail. It could be a direct communication route to Santa or the tooth fairy. It could be used for collecting Valentines...

Or if Noah had his way, it could be used as a HOUSE for Lamby. Yeah. He doesn't even CARE about letters. Just that it is PERFECT to house his toys.

Anyhoo.... Yep. That's my Mailbox. Ta-Da!

*

Now... To the final contest information:

~This contest will be a random drawing of qualifying participants

~To qualify for the drawing, you must have left a comment on each day of Tutorial Week, even if it is a few days after the fact.

~I will accept entrants until Tuesday morning at 9:00am (since I am headed into a continuingly FULL and busy few days... I won't have time to devote to preparing the drawing until then!). That means you latecomers can still play!

~At 9:00 am on Tuesday, I will draw a name and photograph it, an post the winner here. The winner gets the whole kit you see above-- Mailbox, 5 envelopes, 3 postcards, 8 stamps, and a stack of stationary.

~ Once the winner is named they can email me their address, and I will have this mailed to them, most likely in time for CHRISTMAS! :) To be used as a gift, perhaps?

And I PROMISE a real tutorial on this project in the coming weeks.

Now... to bed with me. Moving was GOOD, but HARD, and I am a lump of exhaustion. Thanks for playing along this week. I'm so amazed I managed to pull this Tutorial Week off... And I hope you guys get out there and get crafty yourselves, when you get some time. Nothing like seeing something you made with your own two hands, knowing YOU DID IT. So cool!!

Good night, all!

*

Handmade Flowers: Tutorial Week, Day 5

Friday, December 11, 2009

Phew! This week has been INSANE. Yeah, and that makes ME insane for trying this Tutorial Week thing at the same time as moving. It's just, I thought since I had the stuff MADE, and most of the photos taken, it'd be no problem! I just didn't take into account the PHYSICAL EXHAUSTION I'd be feeling from all the moving stuff, and the emotional weariness from all of it. And I am DOG tired. So... yeah, it's nearly midnight, and this blog will BARELY squeeze in on the day it is supposed to be on. Yikes!

Still... It has been INCREDIBLY fun to do this. And quite honestly, if there was any week I could use the influx of comments and blog love I've gotten with this contest, THIS would be the week. Being so spread thin... being so weary... it has been incredibly uplifting and re-energizing to hear from all of you. To even hear from longtime lurkers. I love lurkers! I'm a lurker myself on several blogs. :P

So... Anyway. Thanks for putting up with me.... being a bit late with this post. I might as well be honest--- it will take an act of God for me to get tomorrow's REVEAL post up at a timely hour... Please don't hate me!! I am a single mama all morning, then we have the moving truck and friends coming to help all afternoon, then my dear sis-in0-law flies into town for the shortest little visit, so we'll be spending much of the evening with her... and .... yeah. You see the challenge. I WILL post, though. Somehow.

Okay. On to the FLOWERS!

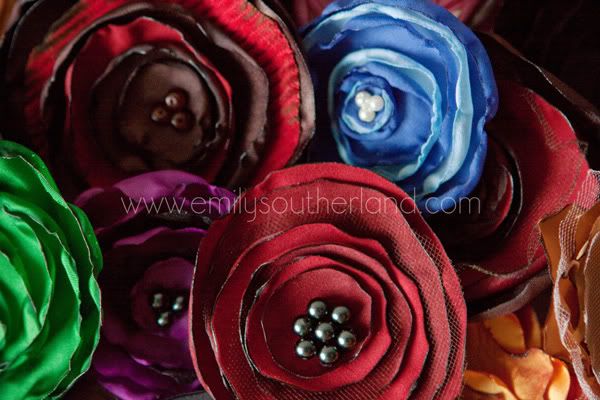
HANDMADE FLOWERS


These have been incredibly fun to make... to look at the finished product and feel like I have a little of the spirit of Anthro in me... a little vintage mojo... and a LOT of femininity. LOVE these things!

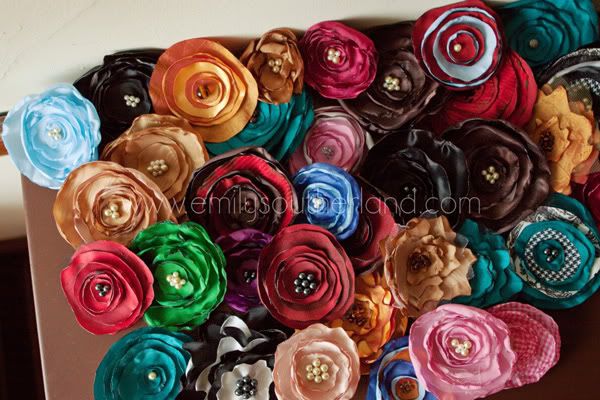
Love them so much, I kinda couldn't stop making them:
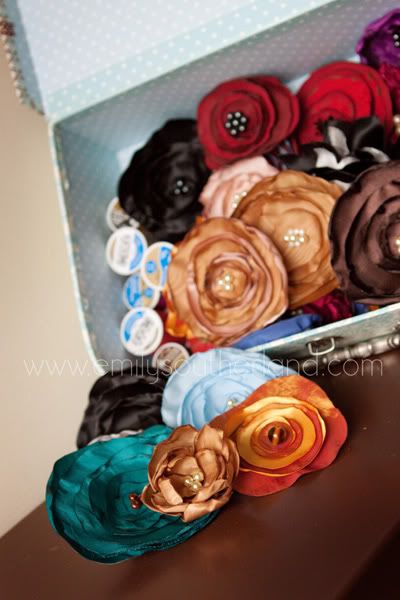


Yeah. Seriously. That's CRAZY.

But CRAZY EASY, too. In fact, all you NON-sewing machinists out there, this is for YOU. I did 97% of these by hand.

Okay, first, the inspiration. I was inspired by the gorgeous headbands I'd been finding at Anthro, Target, Claire's Boutiques, and For Love 21... And I KNEW there had to be a way to make my own flowers. So I started searching Etsy for inspiration. And found Monkey and Squirrel, and her gorgeous stretchy headbands. (Like THIS and THIS). Reading her description, she talked about "hand singed" fabric, and I was intrigued. SINGED? Like BURNED? Of course, she didn't reveal her tricks, since she's a saleswoman, so I had to go visit my friend Google. (I am a GOOGLE PRO, by the way. So good at Googling. If you ever need me to Google for you, I will HAPPILY do it. I am the best.)

My Google quest led me to so many good, inspiring sites, like:
EcoKaren: Fabric Flower Tutorial

La-Sha: Fabric Flowers: Here's How!

MaximumRabbit Designs: I've Been Crafting!


It seemed easy enough, and I was ready to give it a try.

Materials:
Synthetic fabrics like organza, taffeta, satin, dress lining, tulle, etc. (these burn the best...)
Matching thread
Beads/pearls/buttons/other (for the centers)
Felt (again, I WISH WISH WISH I had that GOOD felt, from here, but I had to use the cheapy Walmart felt)
Alligator Clips

Step One: Select and cut your fabric
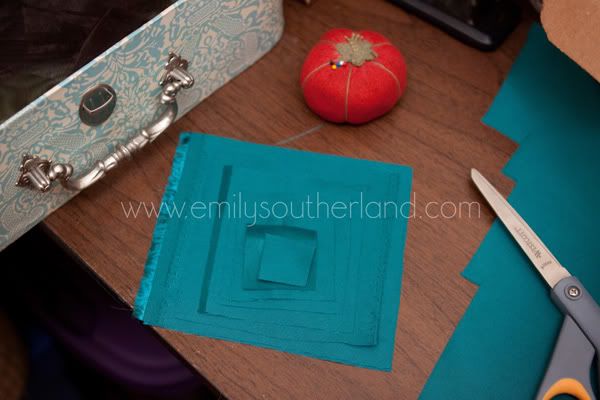

I had SO much fun selecting fabric. Many of my flowers are monochromatic, only one color... but you can stack colors, patterns, fabric types, WHATEVER.... To get all kinds of looks. In the photo above, I'm going with a basic single-fabric flower.

I'm starting with squares here, which I will then "free hand" cut into circles. You can be more precise than this, if you want, drawing circle patterns then cutting around them. I tried it both ways, and this went faster for me. The key is to get lots of layers in descending sizes. The more layers, the more bulk to your flower.
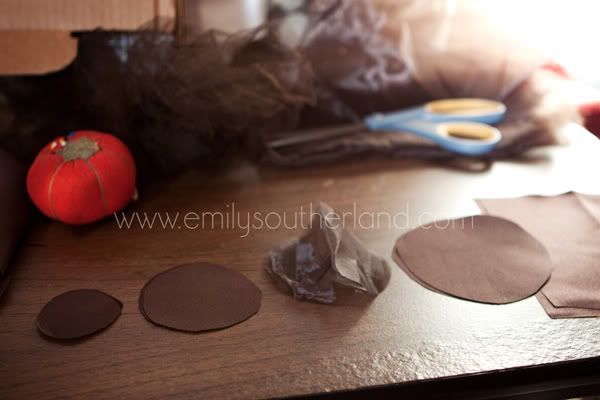
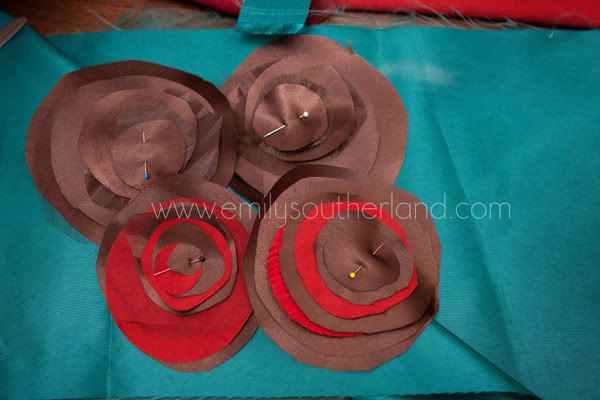


Step Two: Singe the fabric

I am so sorry I don't have an image of this... but it really hard to wield burning fabric and a big camera at the same time! DANGEROUS!

But here is a list of things to help you get this done:

* Get a candle where you have access to the flame (not a jar candle, for example).

* Get a small dish of water.

(This is your safety water. You can dunk a flaming piece of fabric in here if it gets out of hand. I never had to use my water, but I would never NOT have some nearby.)

* Do not sew your pieces together first. You want to singe each individual circle first.

* Begin with one circle, and hold it at one edge. Start lowering the far edge towards the flames.

* The key here is to go slow at first, until you get a feel for where the heart starts to do it's magic.

* Surprisingly, you do NOT have to be as close to the fire as you'd think. the wave of heat does the trick at quite a distance.

* practice on a spare circle first, if you want. Every fabric "singes" differently. Some curl up more, some melt a bit, some actually tend to flame up (I didn't need the water, but waving the piece rapidly to put out the little flame was effective). BE SO CAREFUL!!!

* DON'T do this part of the craft in front of your kids. They'll think it is okay to do this sort of thing. When it really ISN'T the best thing. All you closet Pyros, rejoice!

Step Three: Once all your circles have been singed to your satisfaction, stack them and stitch a few hand stitches through the center to hold them together. These can be small little stitches.

Step Four: Choose a button, some beads, or any other idea for your center, and hand stitch or glue them to the center. If you are using glue, I recommend TACKY GLUE. LOVE it for fabrics.

Step Five: Prepare felt circles for the back.
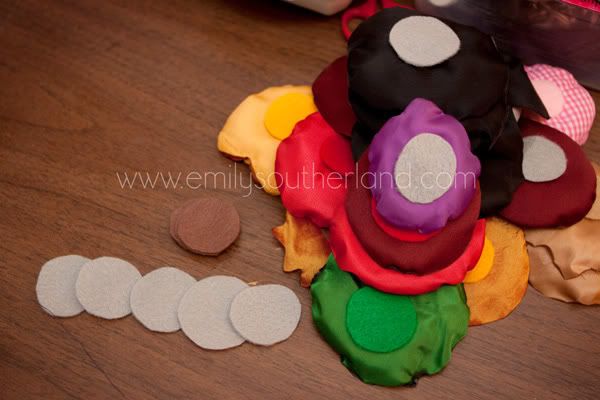

The purpose of these is to hide the stitching and give a good solid foundation for your flower. You can then sew/glue on pins, bobby pins, barrettes, or alligator clips. I tried to use matching felt, and cut a circle that fit the back without overwhelming it.

Step Six: Attaching the felt posed some issues for me. I first tried hand-stitching:
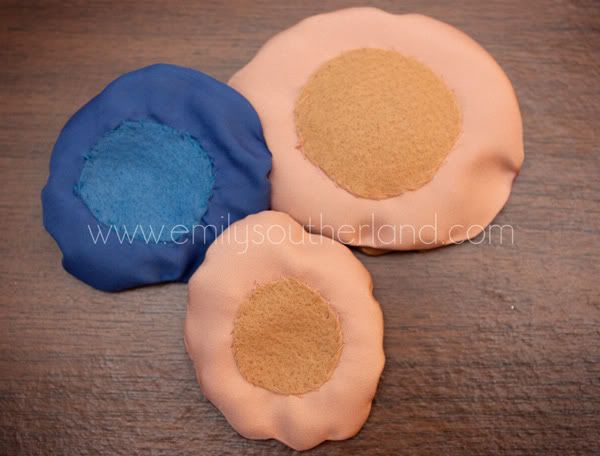
This was the most charming, but also TERRIBLY time-consuming. If I was only making one flower, I'd do it this way. But because I was making a gazillion, I needed some other alternatives.

So I tried Tacky Glue:
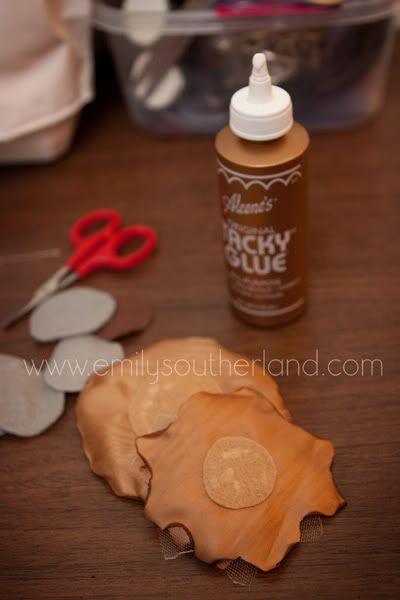
At the time, this seemed to not be very effective... But ones that stuff dried, it was WONDERFUL. And didn't show through like it did when it was wet. LOVED this stuff.

Step Seven: But then I was left with a new problem... How to attach the alligator clips? I also tried hand-sewing these on. It worked OKAY, but it was tedious and I worried that the thread would eventually give out after too much wear and tear. So I then came up with this little idea:
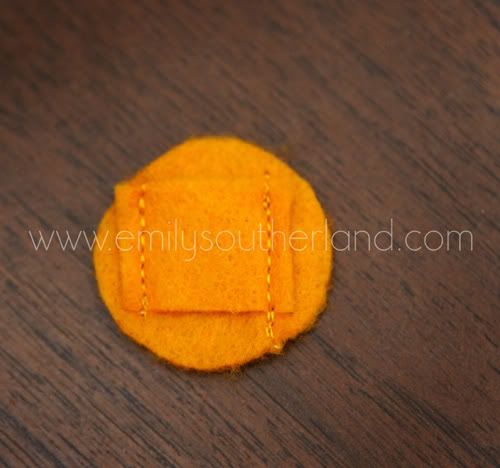


Here is where that 3% of sewing machine time came in... I stitched on another piece of felt, THEN glued on the whole thing. The idea was that the clip/bobby pin could go through the felt pocket. It would be only a SEMI-permanent clip this way, and could be lost since it wasn't attached, but it definitely worked for clipping the flowers to the headbands or to a shirt lapel, etc.
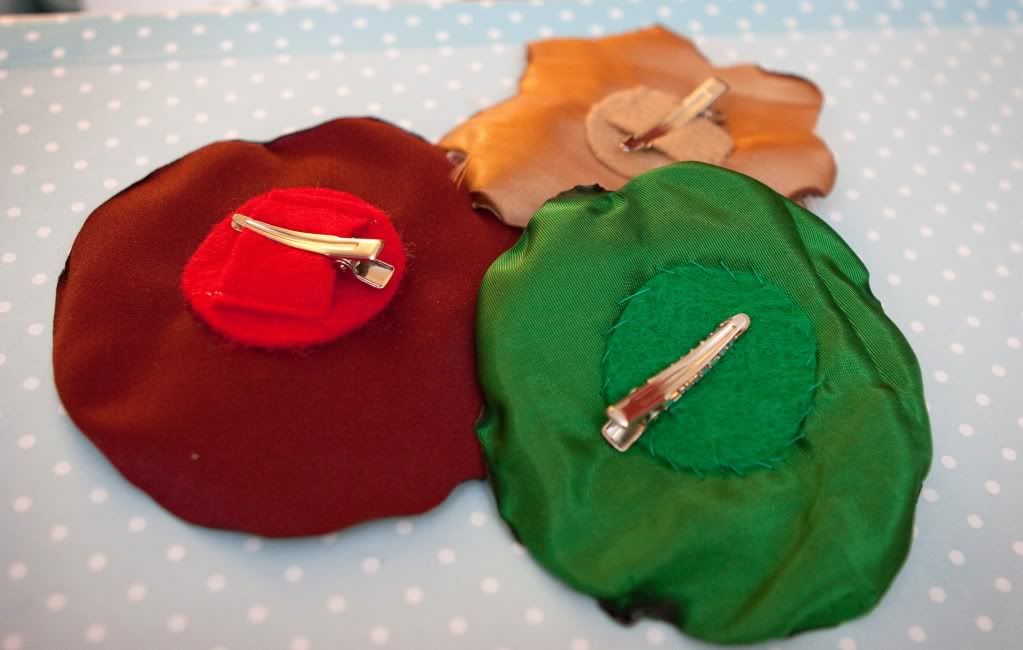

(the green one is stitched on, the other two use the new system.)

*

And there ya have it. Handmade flowers. I bought some thin metal headbands on Ebay and covered them with ribbon, but these flowers can clip onto any covered headband you buy at Walmart/etc. Or you could use them on clothing. Or as a gift topper. You can clip them directly into your hair. Or sew them onto stretchy headbands like that one Etsy seller.

The key here is in the fabrics and the combos you choose... Because they are ridiculously easy to make, but your personality shines when you make it your own with color and texture and contrast.

So... go forth. release your inner Pyro. It's all in the name of gorgeous party-fabric flowers. You'll be so glad you did!

(And you non-machine girls can do this TOMORROW if you have the will. No bulky machine needed if you hand sew all the parts!)

Okay. Past midnight. GAA! Gotta go. bedtime.

Happy crafting!
CopyRight © | Theme Designed By Hello Manhattan