Another random project for my scraps of fabric I couldn't bear to toss out?
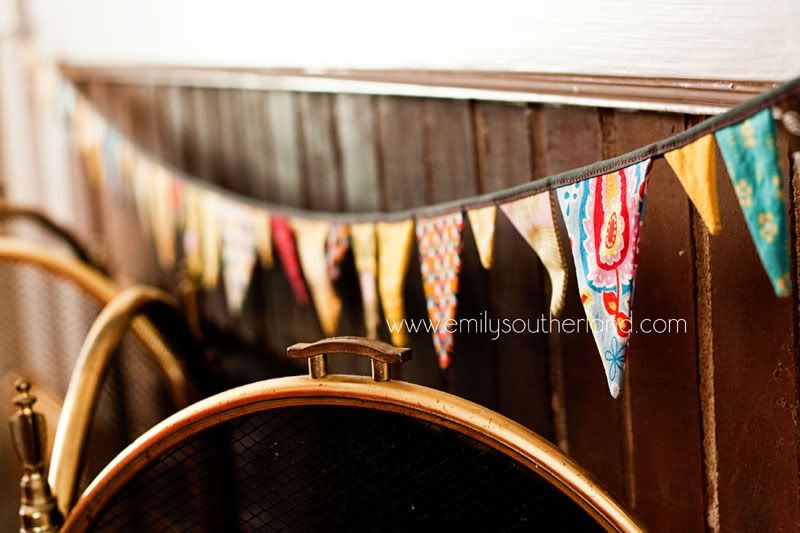
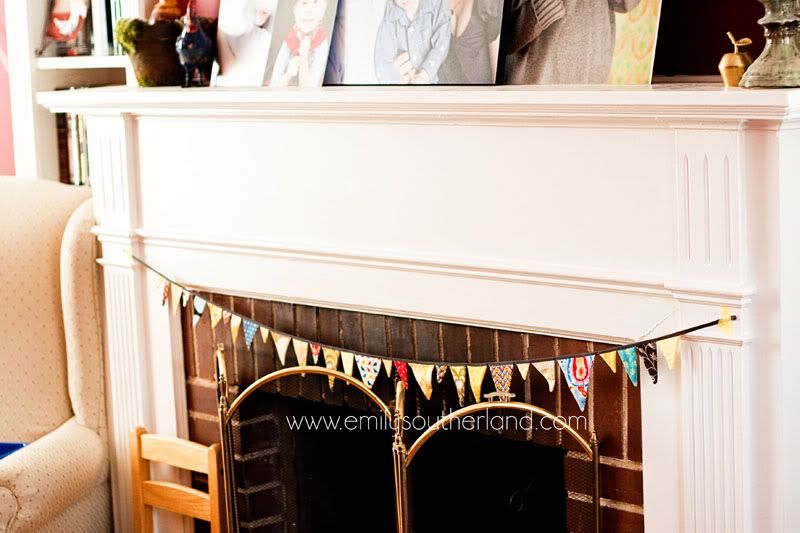
The Teeny Scrap Fabric Bunting:
This thing is TEENY. Each triangle is no more than 2 inches across at the widest point. So you can see how small of scraps I was hoarding. I'm a dork. But... the dorkiness paid off here, because seriously?? HOW CUTE?!??
And EASY. You just layer your fabric to two layers, right sides facing, cut a triangle (really, no need for a pattern or ANYTHING. Just cut. I mean, it's three straight lines, right??) and the variety of sizes is cute to me...
Then you stitch the two sides of the triangle, leaving the top open. Trim your corners, turn right-side-out and use a chopstick or whatever to get your point nice and poked-out... Then press with your iron.
Next, you trim the top so they are even...
And then you use some prefolded bias tape to link 'em together. I used 1/2" double-fold bias because that was all I had. I went CRAZY and pressed the 1/2" in half AGAIN, and top stitched a line in contrasting thread to hold the triangles in... Just placed one triangle at a time, held it in place with my finger and presser foot as I sewed, and there ya go....
So my particular bunting has a crazy skinny band... But you could use 1" bias and fold that in half... Or whatever works for you! Ribbon, even.
And when you run out of scrappy triangle points, your banner is done. Or you could be more methodical and actually plan out how many triangles you want, the length you want, pin them carefully in place, etc...
But I was feeling scrappy and random. So I did it my way.
Fun, right?
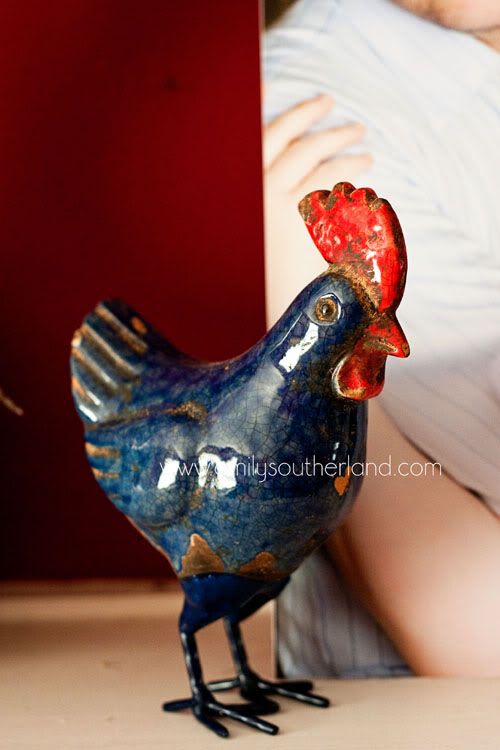
To close, I'd like to share a photo of my chicken, a gift from Julia.
Really, no reason, except this lovely critter was on the mantle when I took the bunting photos and I just like her. She looks Italian to me.
Go now... Make a scrappy bunting! They're useful ANYWHERE in your home. (Mine is now adorning the top of the window/lace curtain in the hallway/play nook upstairs. Noah LOVES it.)
*


No comments:
Post a Comment