Slider

White Chocolate Popcorn, Yum.

Monday, February 27, 2012

Photobucket Photobucket
Just a small bowl of the best snack EVER, introduced to me by my dear friend Melanie. We got a big bag of this from her for Christmas the other year, and since then, Joe and I are COMPLETELY converted. Joe gets so excited when I get motivated enough to make a batch. 

And really, it's not hard. I just have to remember to actually DO it once in  awhile. 

Quick, here's how:

WHITE CHOCOLATE POPCORN

Pop 1-2 bags of popcorn. Doesn't really matter what specific kind-- 
just use what you have on hand. 

Get one bag of white melting chocolate wafers or one bag of 
white chocolate chips.

Melt the chocolate via microwave or double boiler. (If in the microwave,
 do it in 30-second intervals, stirring after each one, to keep 
track of the melting process.)

Use a spatula/scraper to get all the melted chocolate out of your bowl 
and into the bowl of popped popcorn. 

Stir/toss/coat the popcorn. Spread the coated popcorn onto a wax-paper 
or foil-lined cookie sheet so it can dry evenly.

And then, for fun, get your favorite color of sugar sprinkles and shake 
all over your finished batch of coated popcorn.

Other ideas: Add M&Ms or Craisins or mini marshmallows or nuts or other kinds of sprinkles or candy corns or WHATEVER to the mix before you put it on the cookie sheet.

Last tip: Bag some up to share with friends, otherwise you'll eat it all yourself. Trust me. 


Photobucket

Hey, Good Lookin', Whatcha Got Cookin'?

Wednesday, February 15, 2012

Photobucket

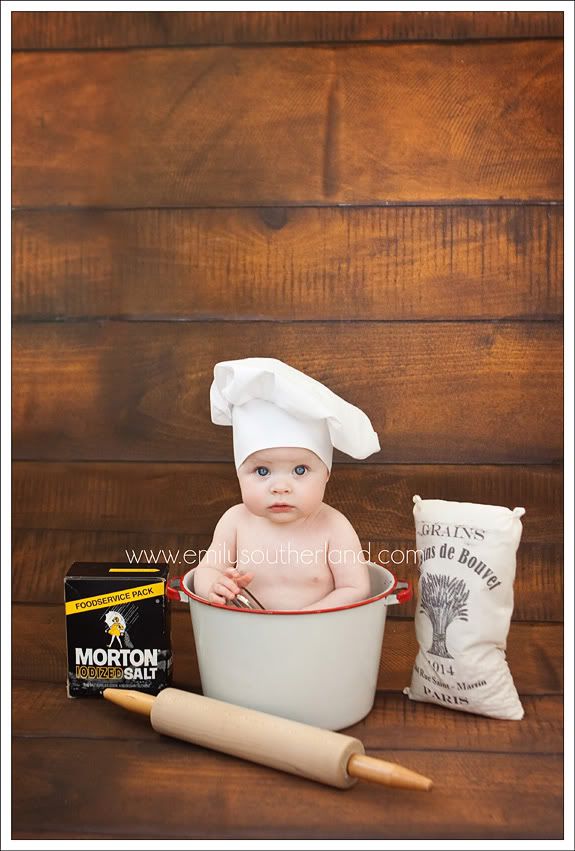
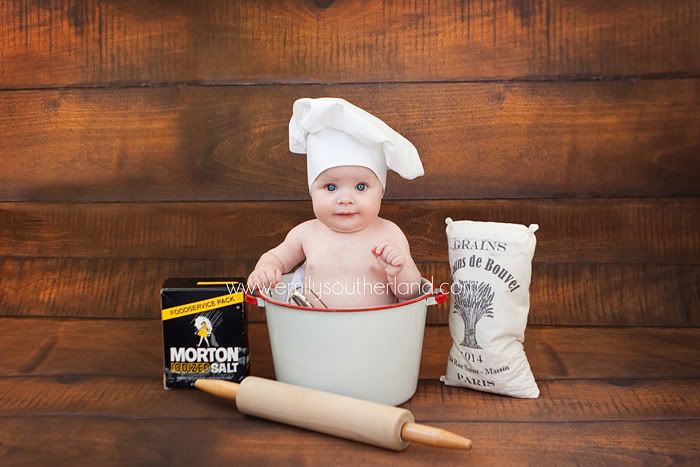
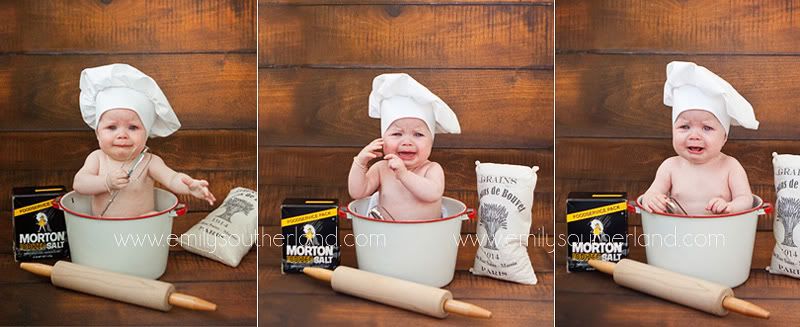
Something sweet is cookin' in mama's kitchen!

Photobucket Photobucket

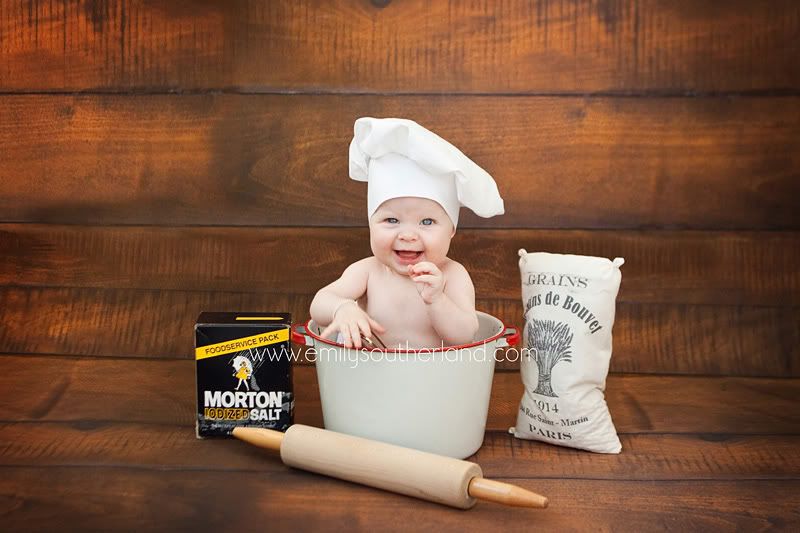
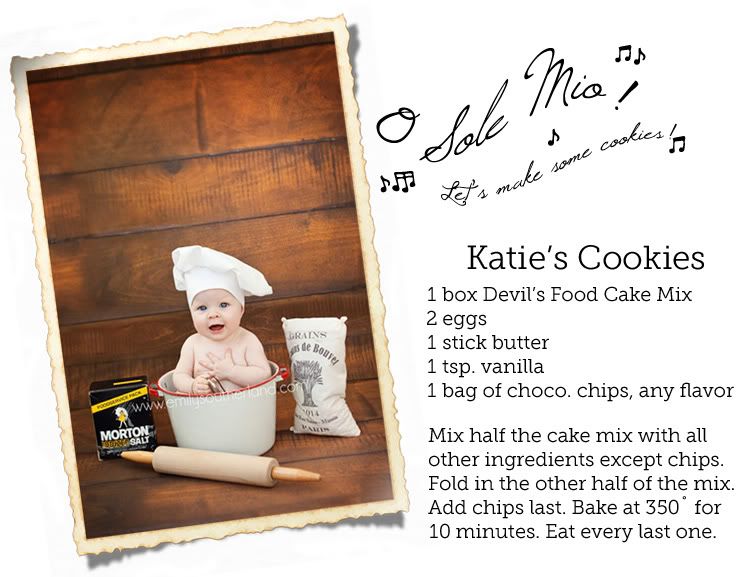
Looks like Chef Lucy has been working on her baking skills...And from the looks of the next photo, she's been working on her opera skills, too:


Photobucket 
*
For fun, I included my favorite cookie recipe-- easy as can be. Named "Katie's Cookies" because Katie was the one who first tipped me off to this recipe.The rule is, whoever gives you the recipe becomes the new name to the cookie. So if you've not made these before, you now have a new recipe called "Emily's Cookies". Sound like a plan?

And how about a few outtakes? To show you that my perfect little model isn't ALWAYS camera-ready?

Photobucket 
(She was not a fan of the chilly metal pot, even with fabric lining the inside.It took some serious clowning around on my part to distract her and get her to cheer up and forget she was inside a cooking pot. Geez, Mom. So mean!)

*
Random notes: 

1. I got the idea for this little shoot here, at Lemondrop Stop Backdrops' website. It is, for the moment, a shot in their opening slideshow. My backdrop is from this company.

2. I made my own chef hat. It was ridiculously easy. 

3. I made the flour sack using a free printable and the freezer paper printing method, read about here.

4. I love my baby. 

5. It's 12:44am and I should not be still here, blogging.

Small New Goal: One Project, One Recipe

Sunday, July 10, 2011

Remember long ago, when I was crafty? sewing up a storm? When free time was so abundant I even WASTED it sometimes? Remember? Like all the way back to April?

Lucy sure has changed the game. Ha!

But that's all right. I knew it was going to happen, and I truly don't lament this season away from SuperCraftiness. It was coming, I was prepared.

Still.

There's a part of me that craves making things... Craves being creative. Even if it is a tiny thing, a fast project, a set of photographs... Even our little garden this year... SOMETHING creative.

And so, as Lucy has been working her way out of the Troubled Newbornness, I have been able to find little pockets of precious time-- often with the help of a family member or my sweet hubby to help ride herd on the kiddos-- to get creative. And it has been like taking a long cold drink of water.

And even those little tiny moments of creativity have been so good for my soul that a small new goal hatched itself in my brain the other week. What if, while life is still running away from me and having two kids is still kicking my butt, WHAT IF I still try to do ONE little crafty or project, and try ONE new recipe a week? Just one each.... Every week. Nothing monumental... nothing expensive. Just some little crafty and some little recipe.

I have to say-- the idea has latched on, taken hold, and makes me smile. I like this goal.

So. For my first week, here is ONE recipe, and ONE crafty. Baby steps back to the Creative Life.

Recipe first:
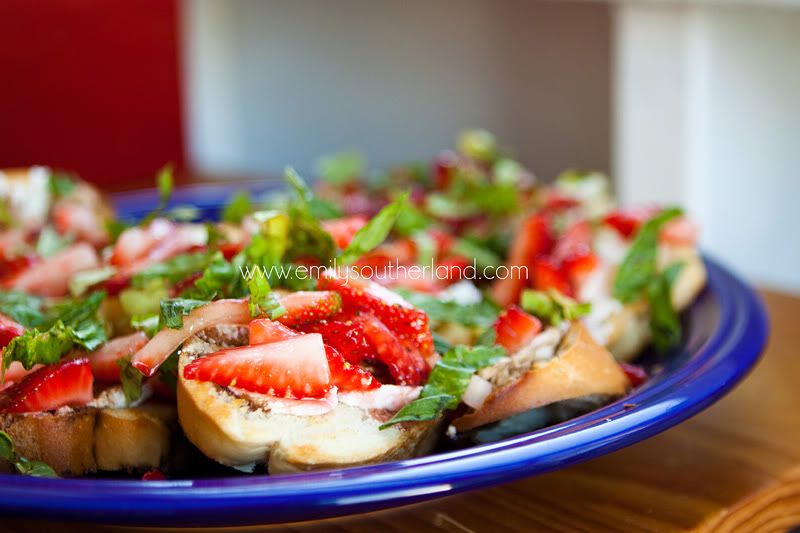
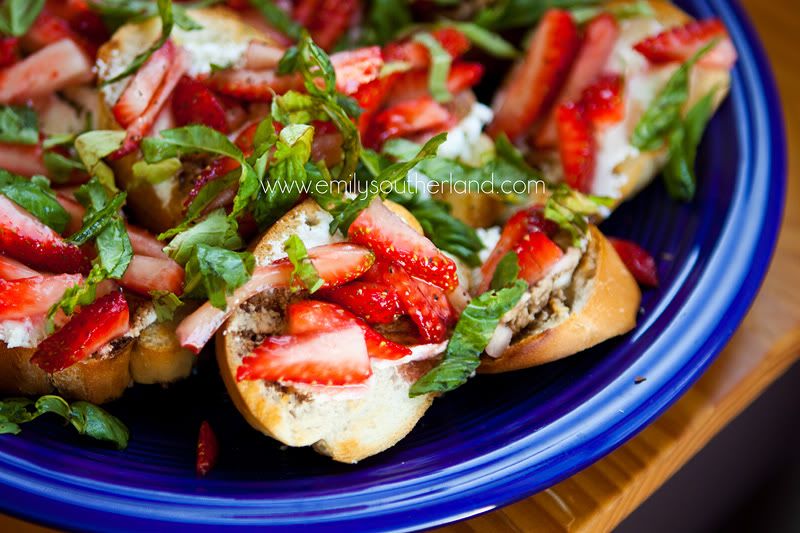
Strawberry Bruschetta

{this recipe was found, as most will be, on Pinterest.com. SO many good ideas for food there!}
Photobucket

There's just something about goat cheese, basil... strawberries... Fresh fresh fresh....

Photobucket

And for anyone interested, here is the actual recipe, from the Annie Eats blog:

Strawberry Bruschetta
Ingredients:
1 cup strawberries, hulled and diced
1 tbsp. sugar
1 French baguette, sliced on a bias
4 oz. goat cheese
1 tbsp. olive oil
2 tsp. balsamic vinegar
¼ cup minced basil leaves
Freshly ground black pepper
Directions:
Combine the  strawberries and sugar in a small bowl; toss to combine.  Let the berries macerate for about 30 minutes so that they begin to release their juices.  Spread a thin layer of goat cheese on top of each baguette slice.  Top each slice with spoonfuls of the strawberry mixture.  Drizzle lightly with olive oil and balsamic vinegar.  Top each slice with the basil leaves and cracked pepper, to taste.
Source: slightly adapted from Whole Foods via The Curvy Carrot

*

Next, the crafty...
Mini Pillow With Pillow Case

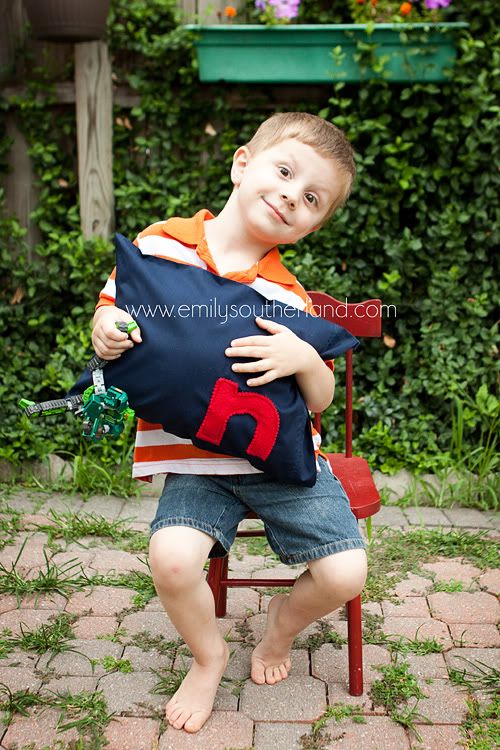
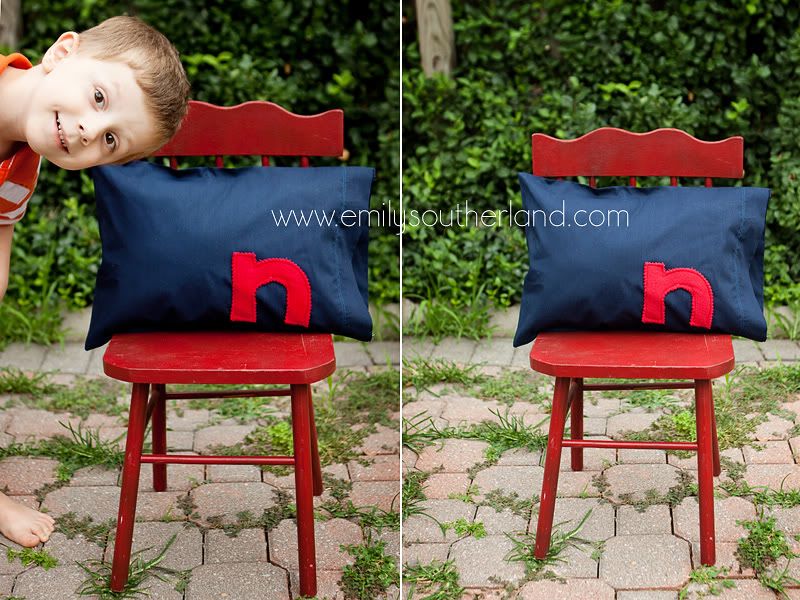
So Noah needed a new pillow. We'd been using a fleece pillow he and I had made together last year, and it was ratty and gross and smelled a little like pee. No thanks. So I whipped up a cute little pillow while he watched cartoons and Lucy napped.
Photobucket

I made it "toddler bed" sized, and after making the pillow itself, I thought it needed a pillowcase, to maybe help prevent that pee smell in the future--- easier to wash the cover than the pillow itself, and all that...

{Noah wanted in on the next photo...The ham.}
Photobucket

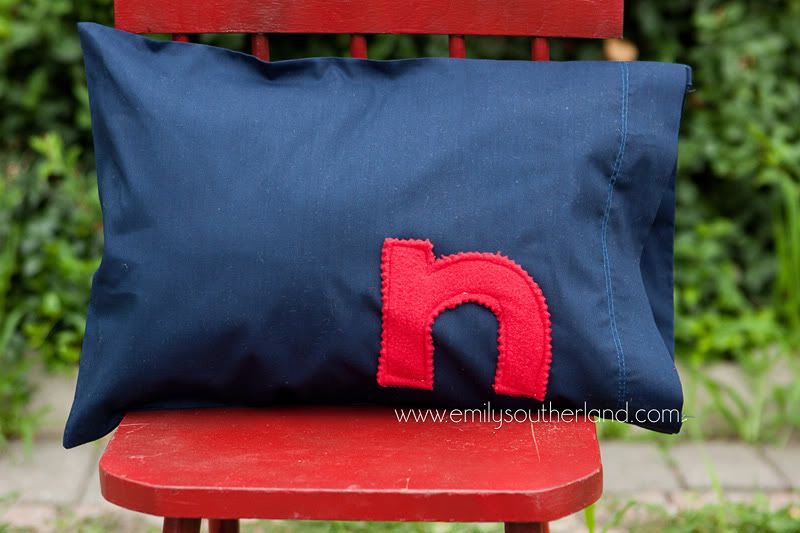
And since Lucy was still sleeping, and Noah was still amused by his cartoon, I decided it needed a fleece monogram. "N" for "Noah. 
 
Photobucket

Photobucket

I didn't really use a tutorial for the pillow project... Just whipped it out and kept measuring and adjusting as needed. If anyone needs some basic instructions, I might be able to put something together. Let me know!

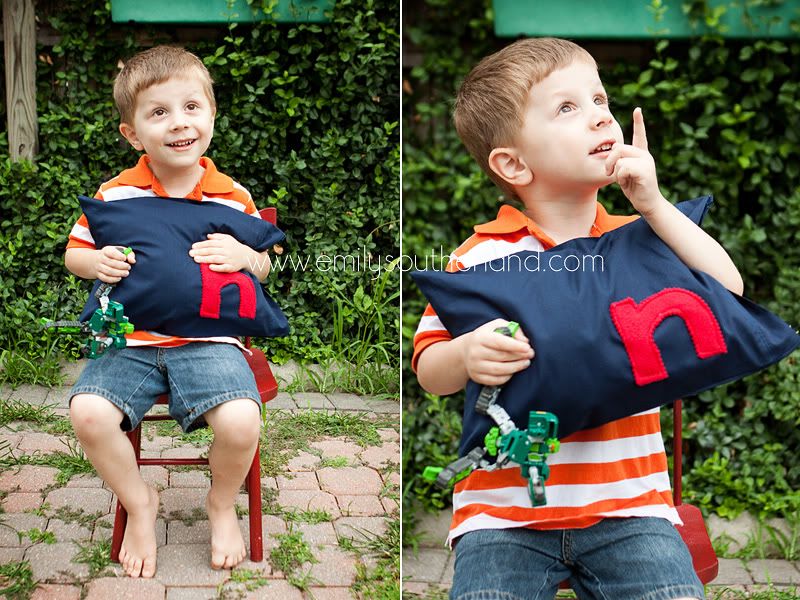
Side Note: Isn't Noah so cute? Really... With his new pillow, a random Transformer in his right hand, hamming it up for my camera... Love him.

Other Side Note: Since I get to show some Noah cuteness, it seems only fair to share some Lucy cuteness... Here she is, from that same day (2.5 months old). I can't decide if I prefer black and white or color...

Photobucket

Photobucket

Isn't that smile of hers enough to make you ALMOST forget she was so tricky those first ELEVEN WEEKS? 

Ha!

*

 So, happy upcoming week!
Besides trying a new crafty and recipe, my other goal is to blog Lucy's last three days of newbornness here.. I need to get that all wrapped up, ya know? And I get to take her 3-month photo... that'll be on Tuesday...

And so on and so forth. Life marches on. And it is mostly pretty good.

Inspired: The CUTEST Pig Cupcakes!

Sunday, February 27, 2011


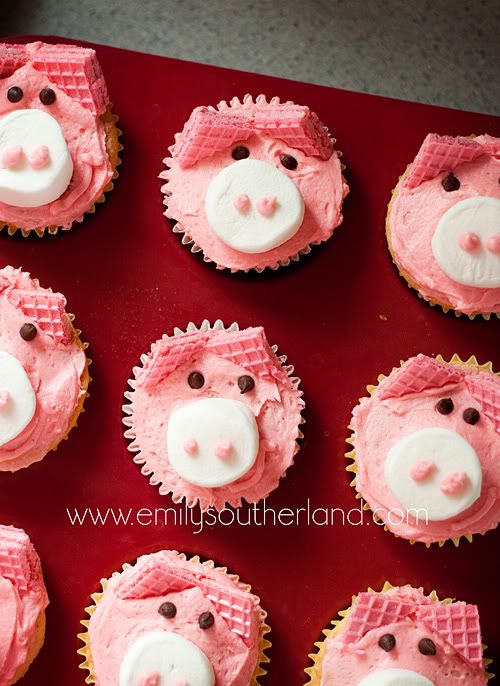
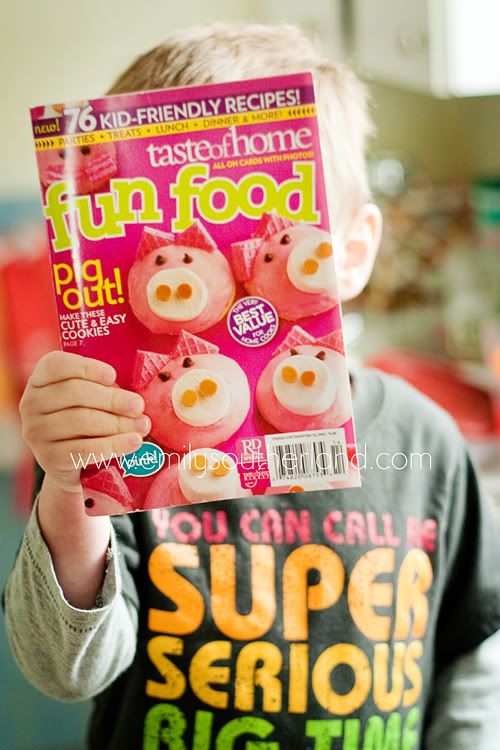
Are these pig cuppies making you smile?? They sure made me grin! I got this "Taste of Home" recipe magazine several months back at the checkout counter, and have always intended to make the piggies for fun one day. 


The magazine has them on cookies, but if you know me, why would I make sugar cookies when I can make CUPCAKES??! 

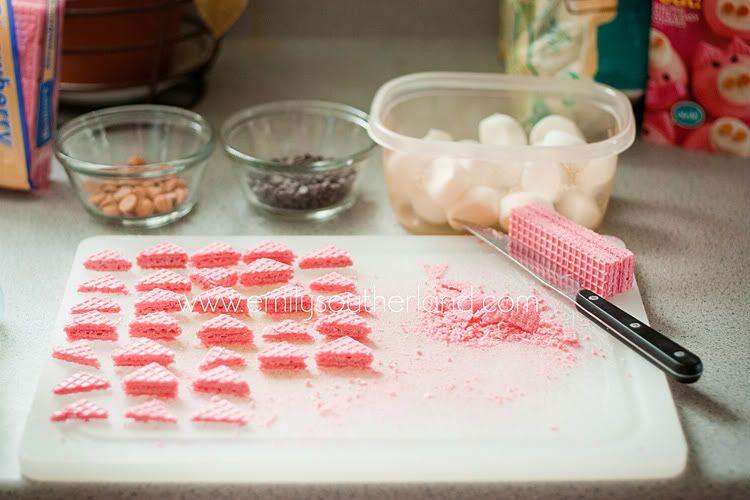
So Noah and I got to work one snowy day, and assembled a batch of vanilla cake mix cuppies with pink homemade buttercream frosting. I purchased and assembled the necessary supplies:


Needed:

1 package of pink strawberry wafer cookies
1 bag or partial bag of mini chocolate chips
1 bag or partial bag of butterscotch chips
1 bag or partial bag of large marshmallows
pink frosting (you can tint the store bought stuff pink if you want!)
1 batch of cupcakes, any flavor

Helpful Hints:

~ I don't spend time making the actual cupcake gourmet... you can just use the cake mix. The point of these is the piggy cuteness, not the cake itself.

~ For the marshmallows, I found that they looked better if I used my kitchen shears to cut them in half to be shorter. I just reshaped them after the cut and put the cut side down.

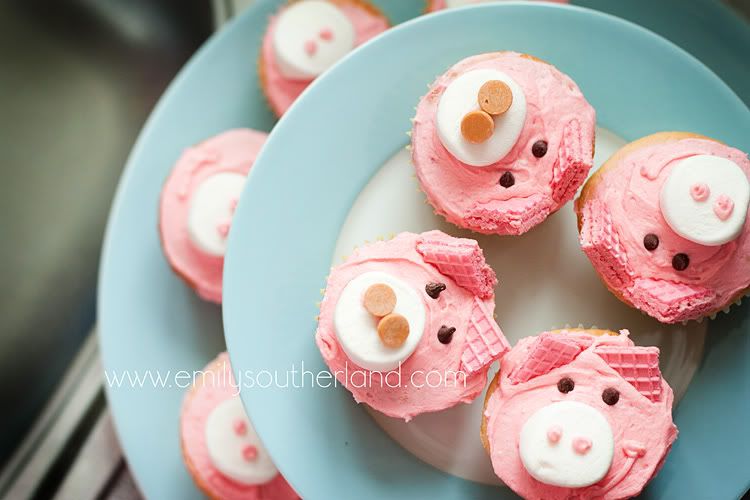
~ The butterscotch chips were a cute idea, but NOT convenient to implement. They didn't stay on the marshmallows without some help from a dab of icing. And at that point, if I was going to put a dot of pink frosting on the marshmallow, why not just make THAT the nostril? So I ended up putting frosting in a piping bag and piping on frosting nostrils instead of using the chips. You can see it both ways in my last photo, below, and decide for yourself. (And if you don't already know, a sturdy sandwich-sized Ziploc bag is a PERFECT piping bag. Just put 3/4ths of a cup of frosting in one, sip it up, then snip a tiny corner off of the bottom and pipe the frosting out of that hole.)

~ The strawberry wafers were NOT easy to cut. They didn't maintain themselves well... splitting apart all over the place. Must be because I used the cheap brand! So if you look again at the prep picture above, you'll see that I salvaged what I could. Some of the triangles are perfectly cut, others are half or even a quarter of the actual wafer, thickness-wise... and I just rolled with it. I had a MASSIVE "discard" pile by the end! Once the wafer (or partial wafer) was in the frosting on the pig, it held together fine. 

*

And once all that nonsense was worked out (and my 3-year-old LONG gone from the "helping" part of it), we had a batch of reasonably cute replicas of that cute pig idea I was inspired to recreate from the Taste of Home magazine. 

Voila!


And so.... With that inspired idea, we head into a new month this week!! Spring is FINALLY really close! (And March is the LAST MONTH for me to get things done before baby time comes. ACK!!!)

In the spirit of tackling the new month with purpose and vigor, I'm posting my to-do list here, all "cute'ed up" so that maybe it'll be fun for me to get to it and get things done.
Photobucket

And with that, Noah is up from nap and I should go focus on the rest of my Sabbath with my boys... foster those sweet relationships in the moments I get with them....

Toodles!

Happy Thanksgiving, Etc. Etc.

Thursday, November 25, 2010

Happy Happy Thanksgiving!! I'm laptop'ing from the couch at my parents' house in Columbia, MO, happy to be with family (my big, brash, loud, happy family)... Happy to put my sore feet up for most of the day (minus the time spent making Puppy Chow, my own personal tradition for Thanksgiving).... Just.... happy. And hungry. When's the turkey coming?? 

And that puppy chow? You know what I'm talking about, right? This stuff? 
I LOVE the stuff, and a few years ago brought some to my family's house for Turkey Day because we all sit around, STARVING, waiting for the real dinner, and a good munchie seemed an ideal solution. The recipe I use is:

Puppy Chow
1 stick of butter
3/4 C. of creamy peanut butter
1 bag of semisweet chocolate chips
3 C. powdered sugar
1 box Rice Chex

Melt the butter, choco chips and peanut butter together over medium heat. Add the cereal to the pot (make sure it's a big enough pot!). Put the powdered sugar in a brown grocery bag, then spatula the chocolate covered cereal into the bag. Close the bag and shake-a-shake-a..... Voila! Puppy Chow!

*

But this year, I decided we always run out too fast... With over 12 people in the house, all with sweet tooth tendencies, it's inevitable that one batch goes quickly. So I thought, why not a triple batch??

And WOW.

That makes a TON. 

Ha! So funny! A garbage bag full of PUPPY CHOW!!! Woot! Perfect! 

Anyhoo...
Since I'm home and relaxing for the holiday, I have some fall-y stuff I've meant to blog for a long while now (all of these images are from October. Oops!)... And with the surgery, the not-so-fast-recovery, the backlog of work piling up, etc. etc.... this blog post never seemed to happen. So why not today? Quick, before oranges and browns go out of style and red and green are the colors to display. (Today's the last day for those yummy fall colors. Sad. Candy corns and autumn leaves, pumpkins and gourds--- passe as of tomorrow. Bye, Fall. I loved you.)

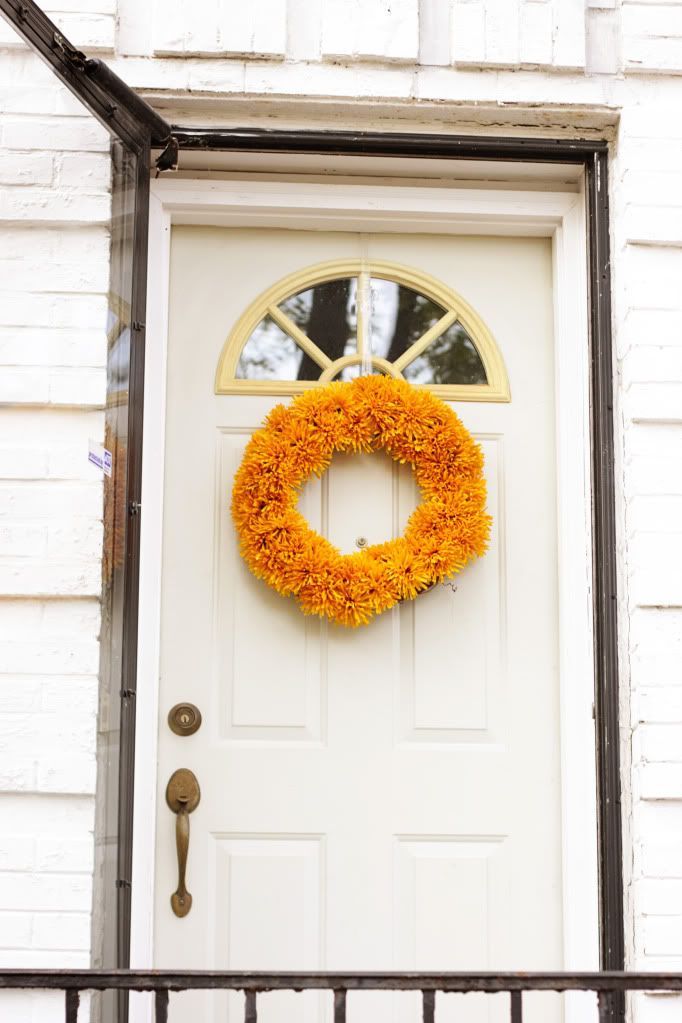
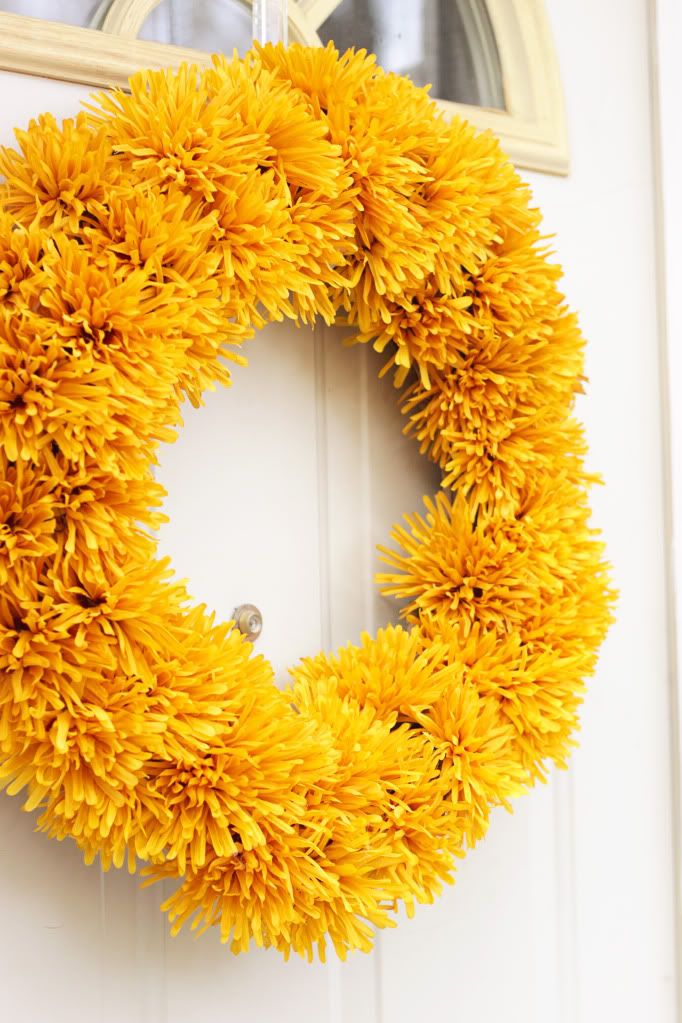
So to start, I made a wreath this year. I actually envisioned finding a bunch of cute little mini-pumpkins, probably fake, from a floral section of a craft store... Even fake persimmons would have done... And COATED a Styrofoam frame with them. Just a whole bunch of little orange globes... But. No craft store came through for me and I never found mini-pumpkins or fake persimmons. I DID find some good-looking fake mums... so I ran with it. Instead of Styrofoam, I went with a grapevine wreath... and the goal was just to SMOTHER the thing with mums, minus green foliage:


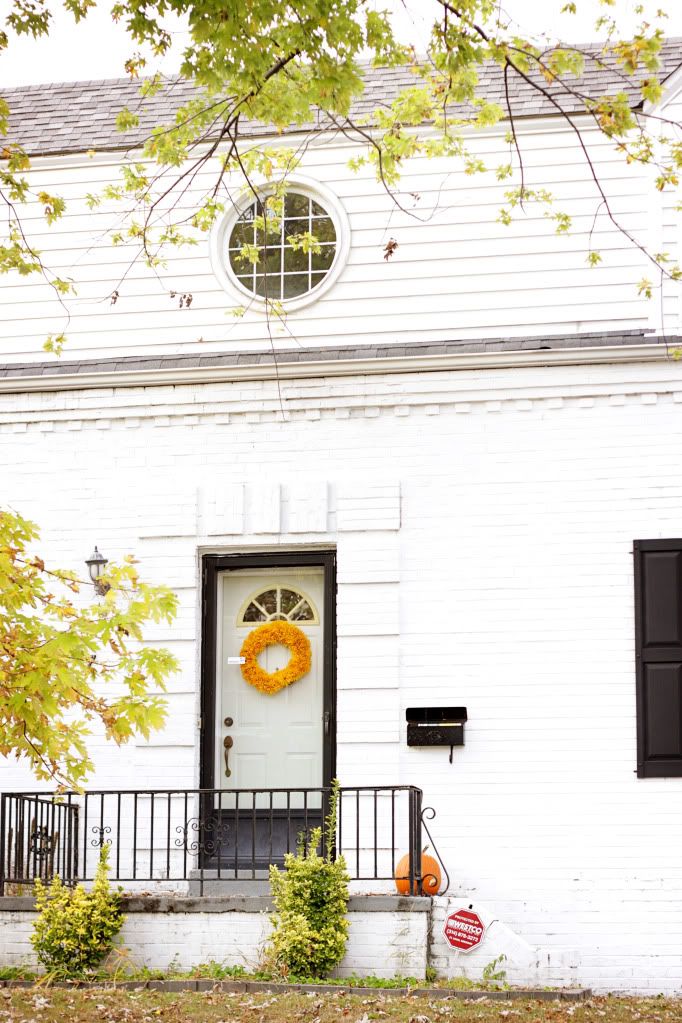
I LOVE the color, and love the pop it provided all fall for our little white house.

So easy, too! But now, with orange going out of style, I guess I'd better start thinking about a winter wreath to replace this...Hm. 
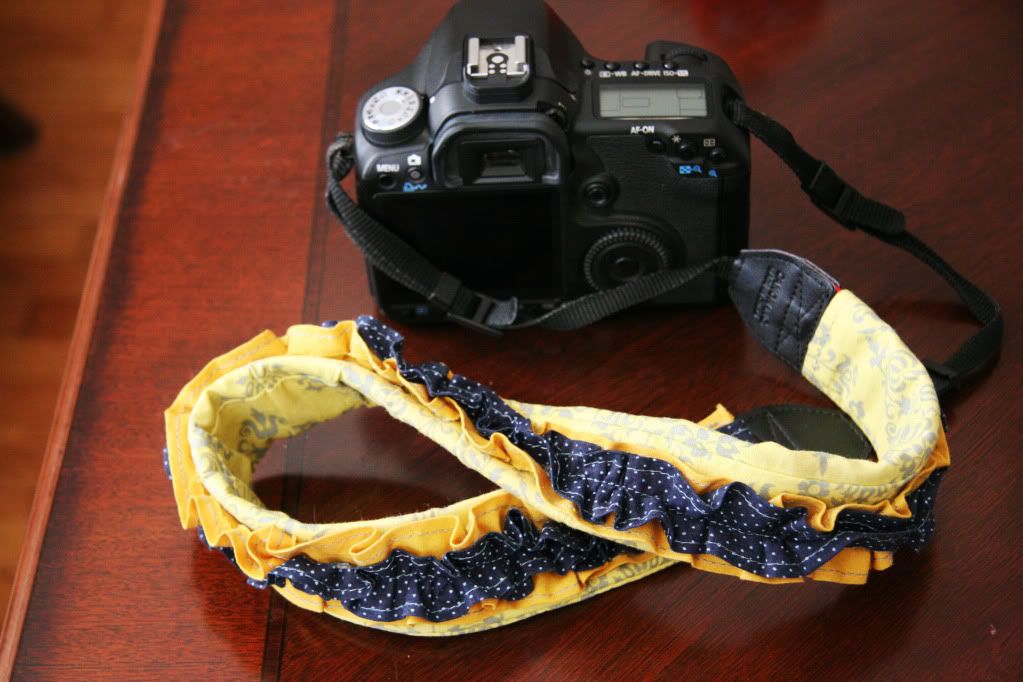
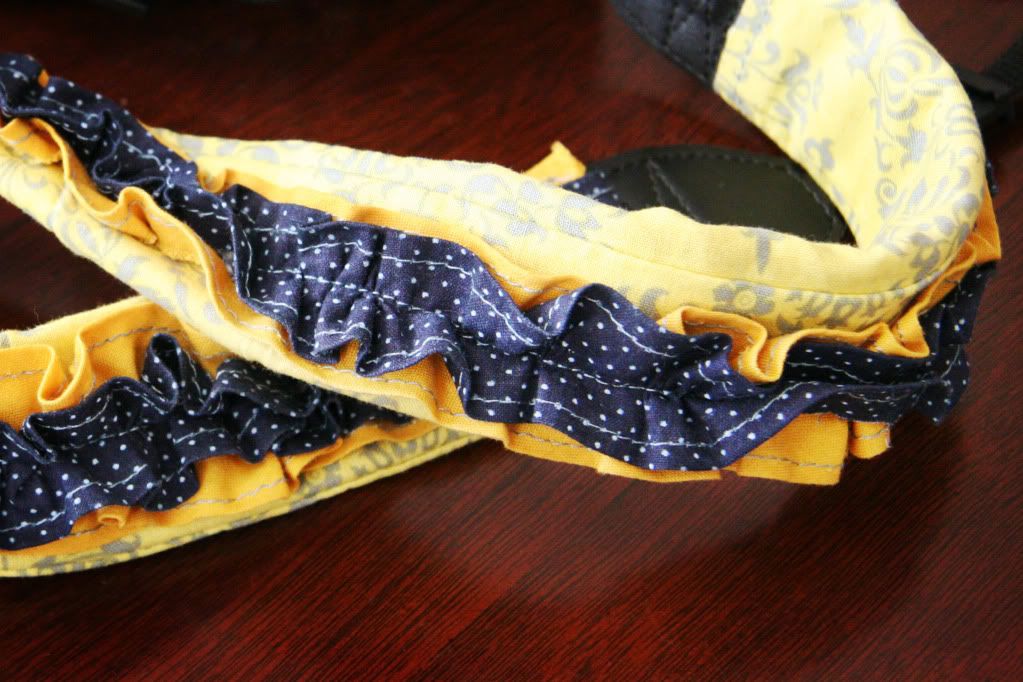
Next up.... My friend Stephanie S. Facebooked a link to a DARLING ruffled camera strap... And reading the tutorial, here, on KevinandAmanda.com, it looked TOTALLY do-able... So I went for it, using scrap fabric I already had on hand:


And I ADORE it! Love love love the flirty ruffles. Love that I could do it myself and feel pretty good about the results. Yahoo!

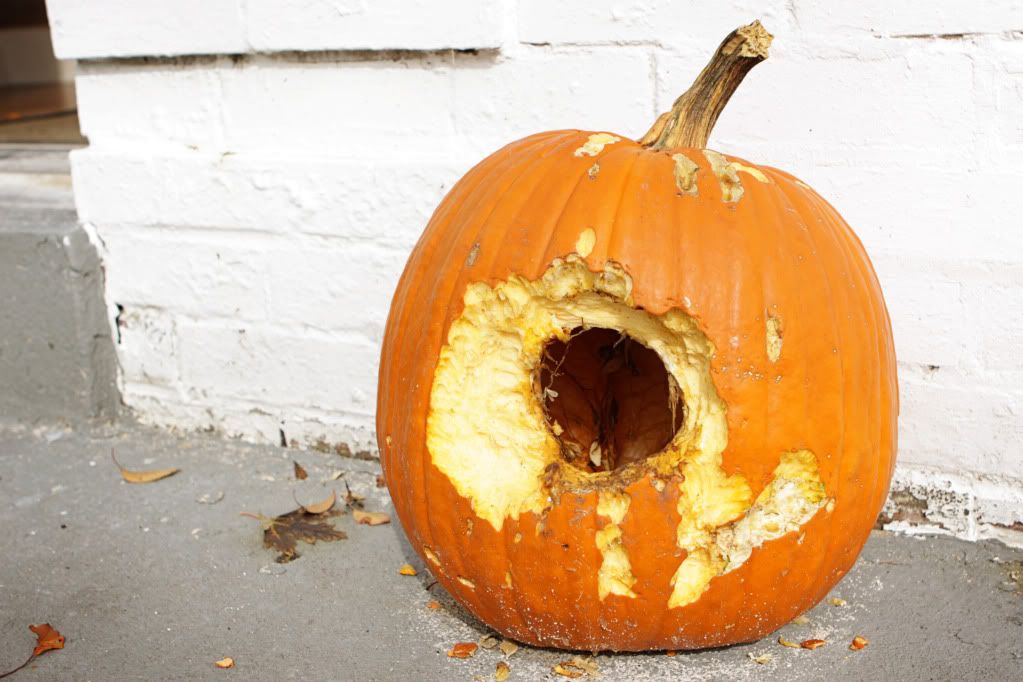
And all October, while I was being crafty indoors, our local squirrels were being crafty OUTDOORS. Meet our Squirrel-O-Lantern:


It started with a few chips off of the dark orange outer skin. No worries. Then a few more gouges out of the skin. I laughed it off, amused that these intrepid squirrels managed to find a new food source. I also knew I'd be carving a different pumpkin, so this one could be chipped away at. No problem. Well... "chipping" turned into "gouging", and eventually, they broke through. Ta-da! Squirrel-O-Lantern. It amused me so much I didn't take it off the porch til we had real Jack-O-Lanterns to put there instead. Noah even took to singing the "Squirrel-O-Lantern" song I made up... Ha!

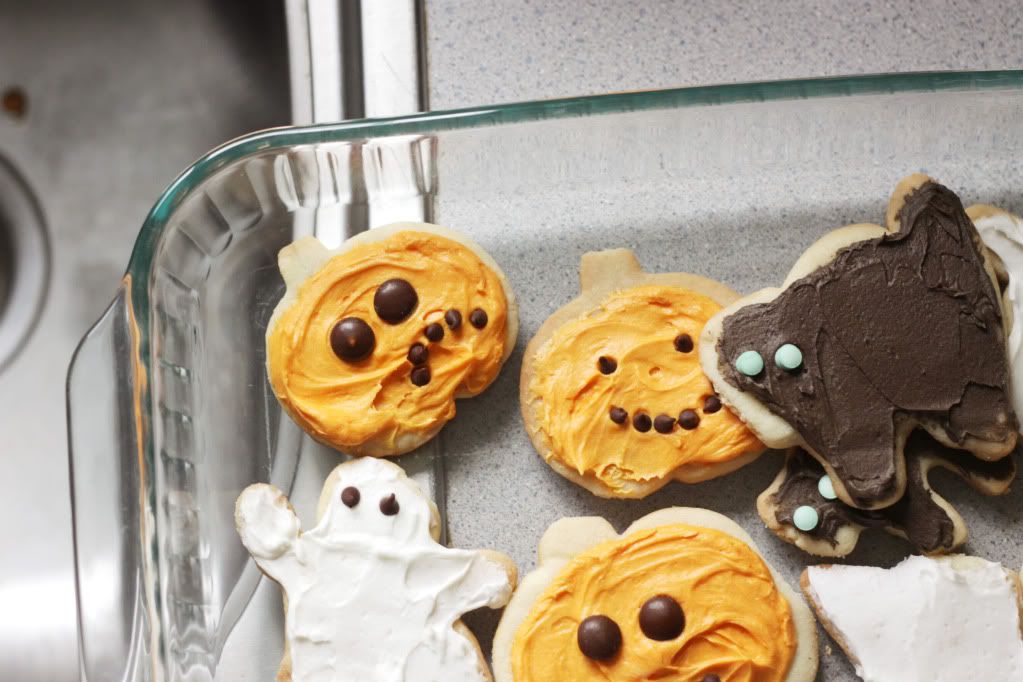
And since I'm reaching back to Halloween, here's the batch of Halloween sugar cookies we made. Joe and Noah got involved too, so it was a fun family activity:


I really should have a photo prepared of us in our costumes at this point in the post, but.... oops. I forgot. Noah was a train engineer, I was Captain Hook, and Joe was a Frenchman, a la his mime costume from August. Maybe I'll post a pic someday... *shrug*

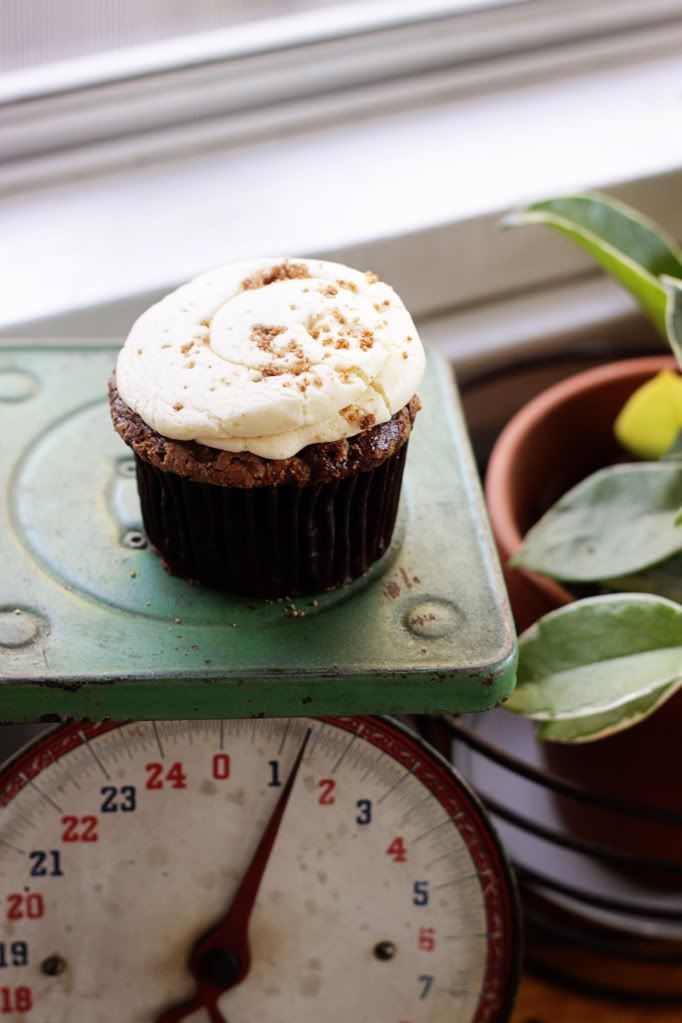
And since this post has turned random, I'll just end it with some cupcakes. Not my own. Our local, BEST cupcake shop, The Cupcakery, has changed their name to The Cup. I'm pretty MEH about the name change. I liked it before...
But in spite of the name change, the recipes are as good as ever, and they had some LOVELY fall specials we HAD to try.

This one is the apple cider cupcake, with cinnamon buttercream:


This one is the pumpkin spice cupcake:

And this one is the mint mummy one. Vanilla mint cake with a mint buttercream-- decorated especially for Halloween:

So.... Yeah. For weeks, this blog has been mostly talking about pain and setbacks and tubes in chests... But there's still that part of my world that we all love--- the little details of food, fabric, photos... everydayness... And I have been trying to remember how to keep it going, even as the pain makes it hard to be cheerful sometimes. 

I am so blessed... Joe is my amazing partner, Noah is clever and loving... (He tells me his feet hurt, too. He'll walk slow, too. So sweet. :))

And I have some fun things I am working on... And LOTS of sessions from the past 4 months to share. (oops.). 

So. Life is moving along, even with the setbacks. And I am focusing on GRATITUDE GRATITUDE GRATITUDE... Today, for sure, but ALWAYS... of course. I am grateful for my life. My loved ones. All of it. 

So, Happy Gratitude Day. To all of you! I'm gonna go nosh on some more Puppy Chow. We've got PLENTY. :)

Peach Jam.... Mmm!

Monday, August 23, 2010

I've been wanting to learn how to make jam for a while now... So I talked my mama into coming and showing me a few tricks and tips for making good old fashioned fruit jam.

We started with a bushel of Eckert's Orchard peaches:
Photobucket

Then we boiled them while Mom showed me the instructions that are tucked into every box of pectin. She also warmed the jars in hot water so they'd be more ready for the hot jam we'd pour into them eventually.

Photobucket

The boiling water and hot peaches get dumped into a cold bath of water. This makes the peaches SUPER easy to peel, cut and pit.

Photobucket

(I loved working side-by-side with my mom. Love that lady!)

Photobucket

Photobucket

The whole process gets a little gooey, but it's actually really fast, and way easier than I expected. 

Photobucket

The big time-consuming task is the boiling of the pureed, blended fruit mixture. You stand and vigilantly stir and stir and stir... and wait and wait and wait for a rolling boil.

Photobucket

When it is finally boiled just right, it goes right into the warm, dry jars... and while my mom has experimented with different ways to seal the jars for preserving them, including the hot water method, she has finally decided that turning the hot, lidded jam upside down to heat-seal it is the easiest way. And it has a pretty good success rate.

Photobucket

In fact, as much as twenty minutes after we completed this thing, she'd break into the conversation and say, "Oh, one more just sealed! Did you hear the pop?"

And that was that! They sealed themselves and I had some lovely, homemade peach jam. 

TOTALLY satisfying, totally easy, and I cannot wait to go make some more. :) I'm thinking peach-raspberry... Or pink grapefruit marmalade... Or plum-pear.... The possibilities are endless! 

(Thanks, mama! Loved this!)

For Dinner Tonight: Corn and Blueberry Salad

Sunday, August 1, 2010

Photobucket

Photobucket

Photobucket

Photobucket

Photobucket

I have had this recipe printed and waiting to be made for a while now... Today seemed a good day to make it happen. It's chilling now. I cannot WAIT to dig in!

*

(I know my blog is "right click disabled", so if you want me to email you a copy of the recipe, just email me at: southerlandgirl @ yahoo dot com. I am so happy to share!)
CopyRight © | Theme Designed By Hello Manhattan