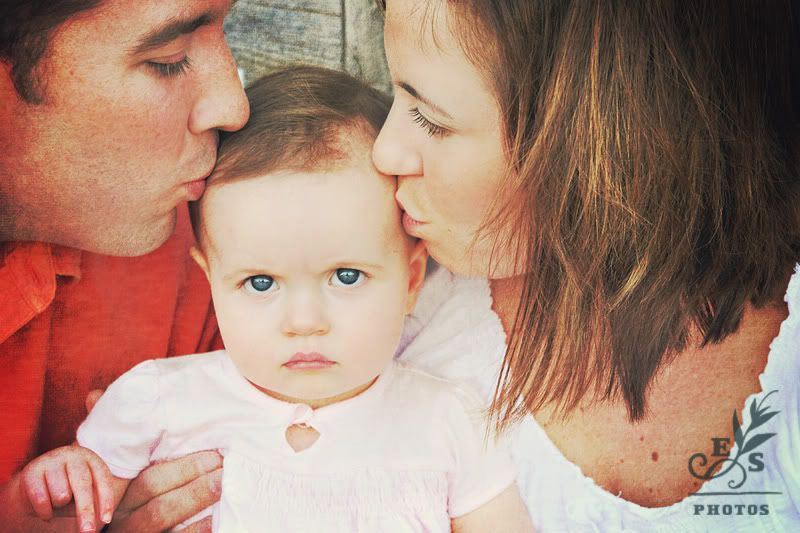
I'm back from my big trip and catching up like a madman on editing sessions and making keepsake books... and while I should probably actually BE editing right now, (ha, oops!) I thought I'd pop on and share my current
workflow for anyone who might be curious....
First of all, it is a fun/scary exercise for a pro
photog to share straight-out-of-camera (
SOOC) shots...
Because it is like baring your soul. Showing what you come up with on-site, then showing how you feel it can be
improved through
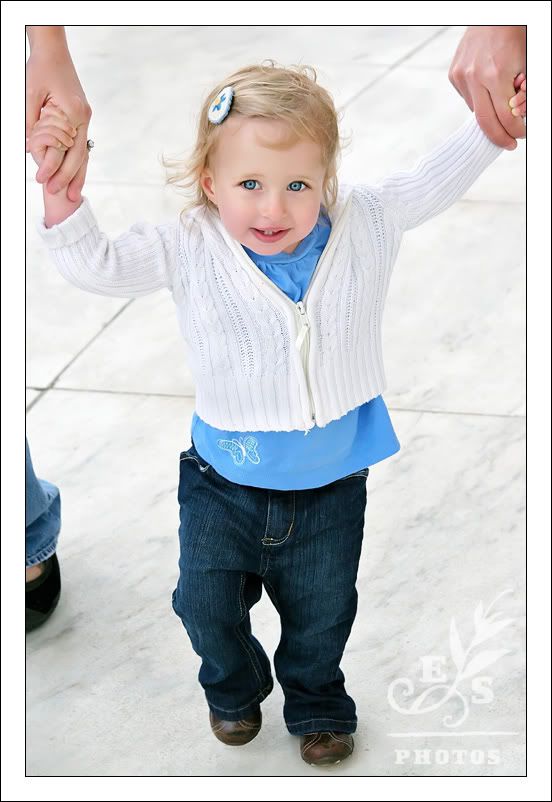
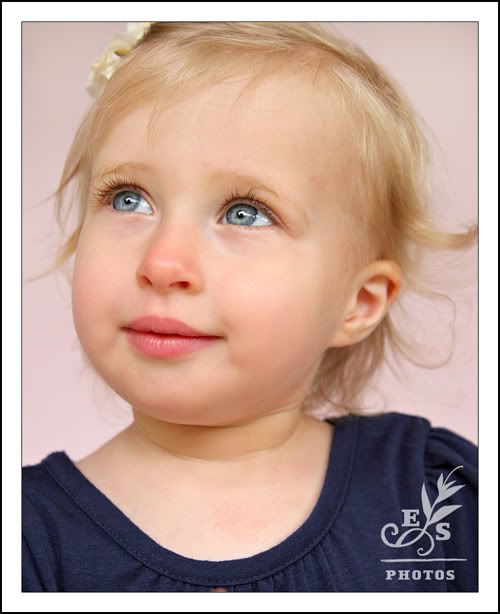
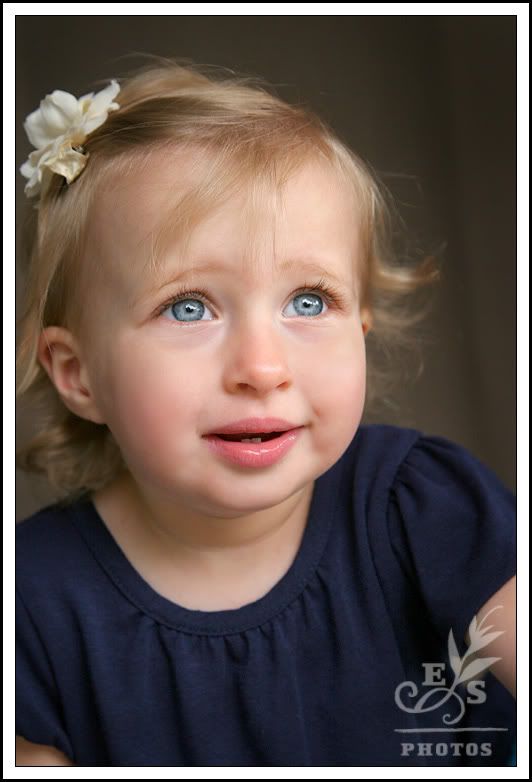
personalized hand-editing. Above, is a good example of what I am striving for-- good exposure and focus and strong color right out of the gate... But if you look between the two, the two things I almost always want to improve are the skin tones and the clarity.
And while I am working a specific
workflow groove tonight, there are many other tricks in my bag that I use
when needed, and my
workflow is an
organic, changing thing. What works for me
today might feel outdated or too much or too little on another day, so I change it up a bit.
My ultimate goal, either way, is to produce a clean, classic edit with real color and a timeless finish. There are many paths I can take to get to that point, but the end goal is the same. I want to give my clients
something they will love always.
Once I am done with the "clean edits", I then go back and play. Choose a few
favorites from the session and add some texture, convert to
black and white, go crazy with color effects... Show the clients some fun
possibilities.

And usually, I ADORE these "fun edits" even more than the original copies. I am more funky than traditional in my own life and my own style... I love the grunge and the color tints and the antique finishes...
But it always comes back to the clean edits. After all the fun ones, I just feel right about giving my clients the classic, simple look... First and foremost.
So... To get that "clean edit", here is tonight's
workflow:
1. Open file.
2. Crop to 240
DPI at the largest possible size while maintaining file size (for my camera, it is about a 10"x15" at 240
DPI)
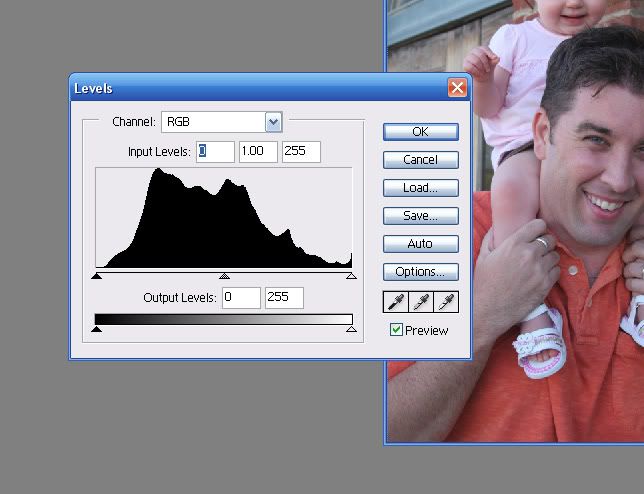
3. Do a "Levels"
adjustment layer.

I often pull the two end arrows in towards center just to where the histogram begins its rise.
4. Run
Miabella's "Let There Be Light" action and adjust some light and shadow if necessary.
5. Run
Coffeeshop Rita's "
PowderRoom" action and do a bit of skin smoothing if necessary (always at at low opacity... Less is more!!).
5. Tweak the color a bit. In this case, I ran
Pioneer Woman's (do you read her yet? If not, you need to. She is SO COOL.) warming action then lowered the opacity to about 30%.
6. Sharpen. (
USM at 250% 0.5 0)
7. Defog if necessary. (
USM at 20% 60 0)
8. Add a bit of burn to the edges if the photo lends itself to it.
The end.
That's it....
Each photo takes a few minutes, but if I have done my job in-camera, it is really painless and kinda fun!
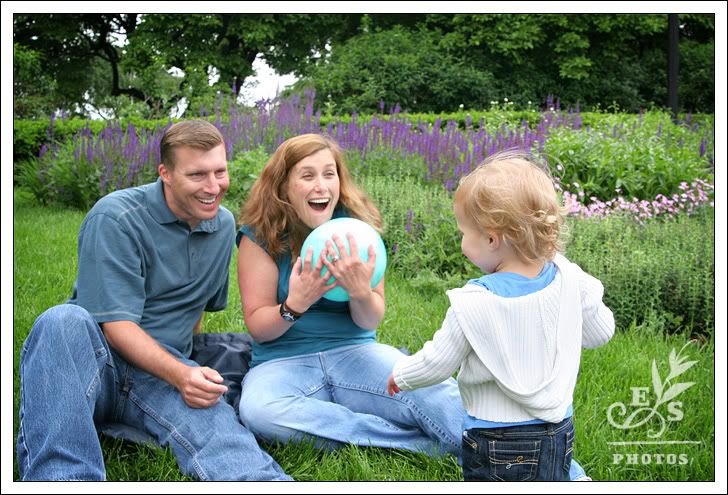
So... Enough time wasting, you guys. I can't keep hanging out on here! I need to get the rest of the above cute family's photos DONE DONE DONE... :)
But if anyone has any questions, or suggestions for other informative posts, leave a comment! anything to
procrastinate a bit more here and there.
(Just kidding, all you waiting clients.
You are sweet and
patient and I love you.)
:)
Ta!

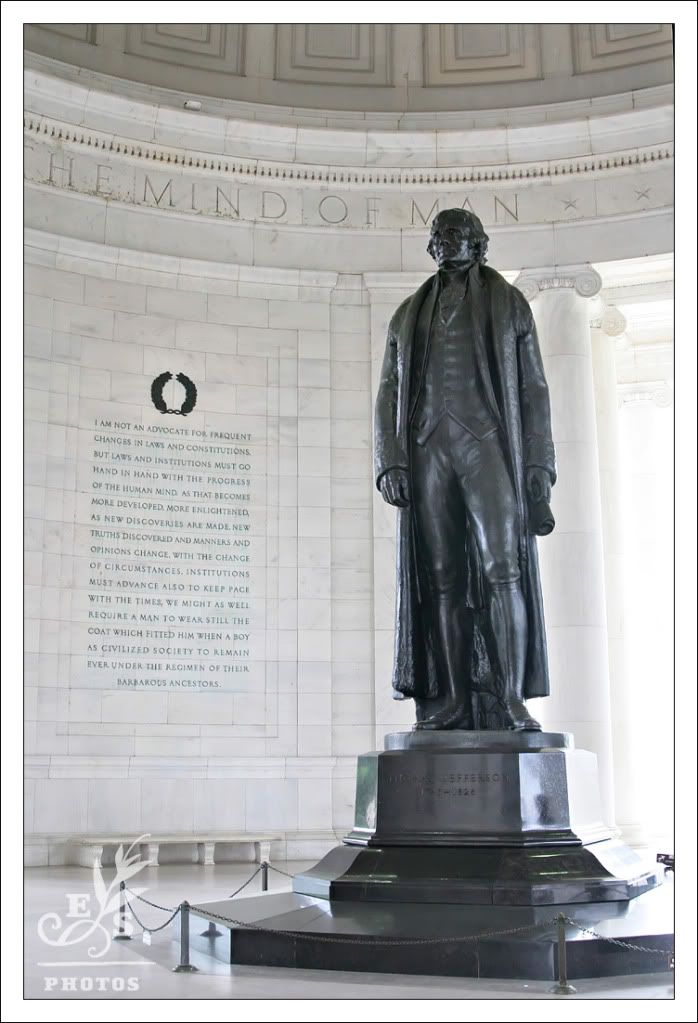
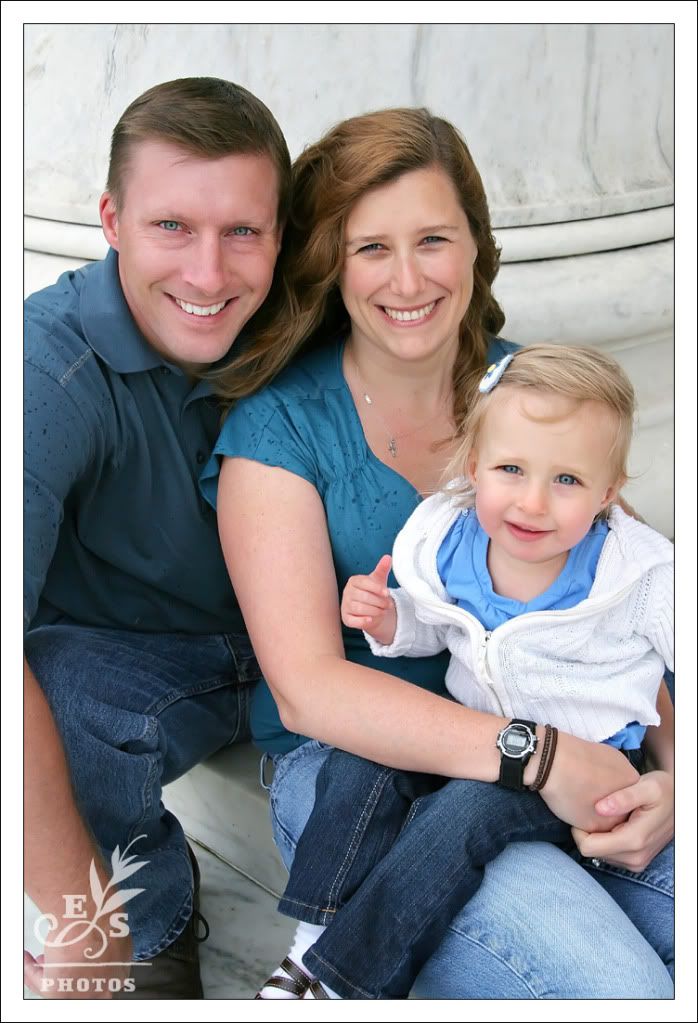
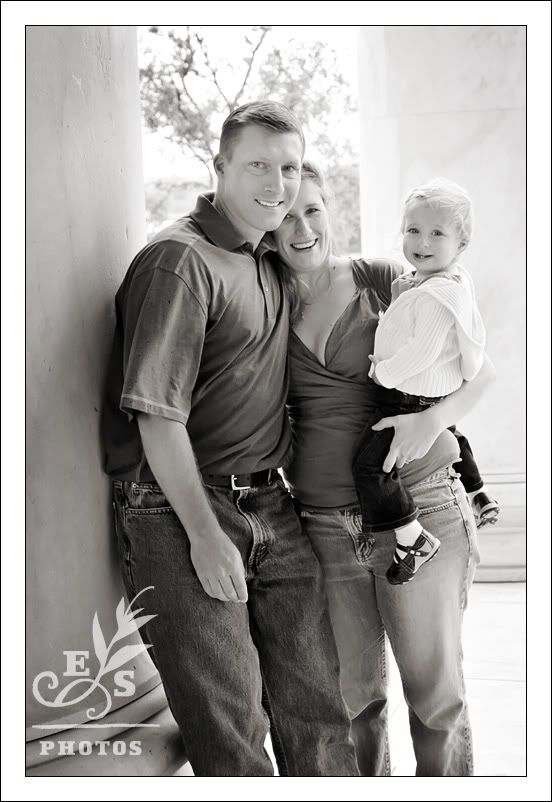
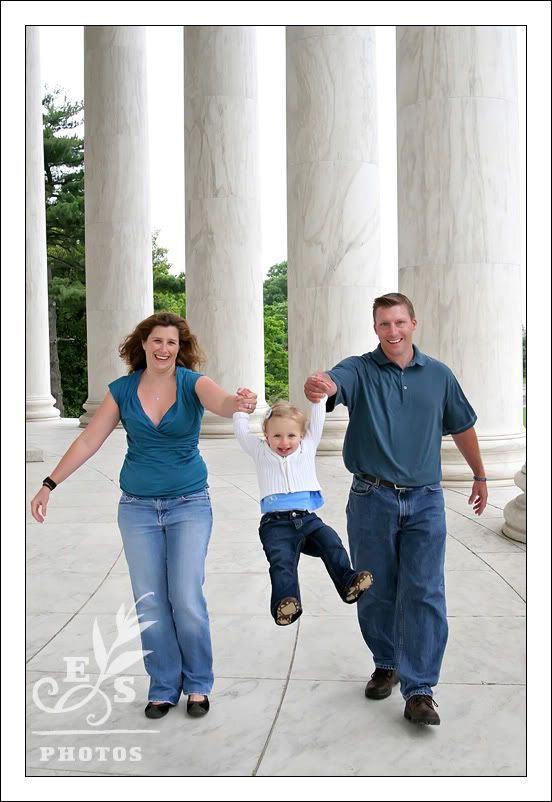
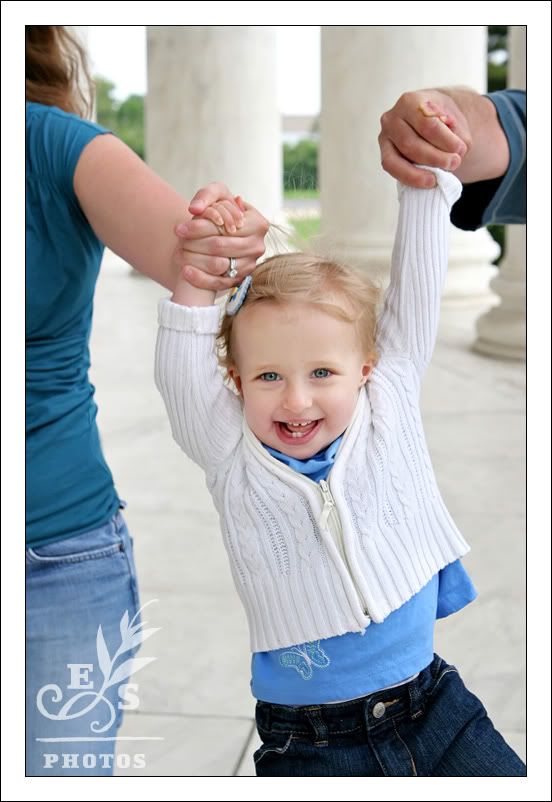
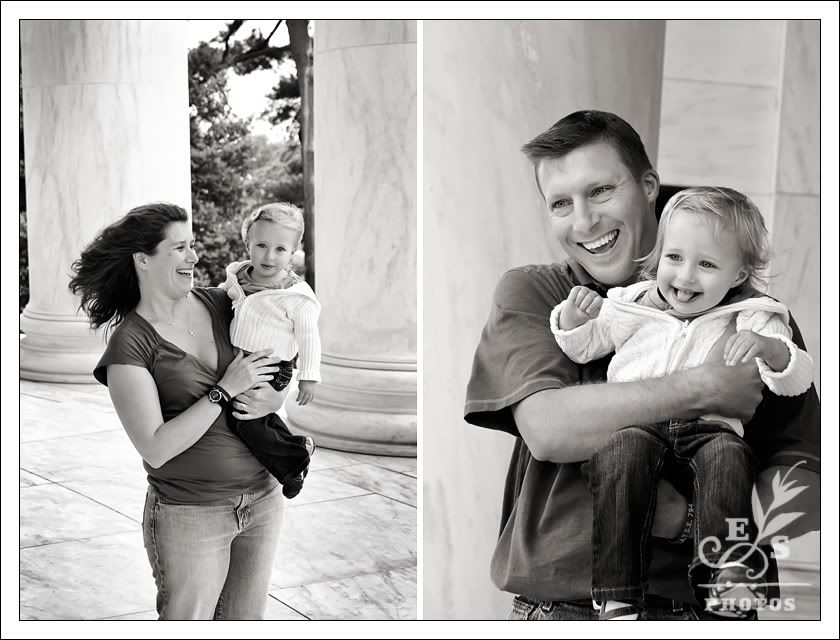
 One of my six DC sessions took place at the Jefferson Memorial. What a kick!